Got in the swing and forgot to take pictures. :(

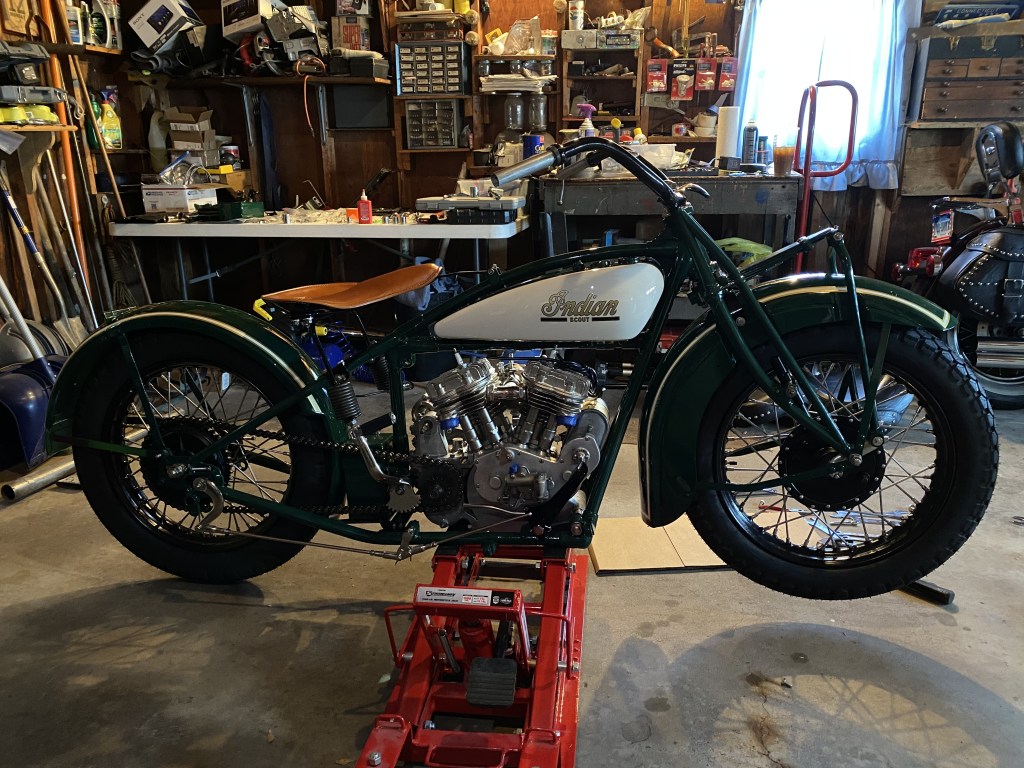
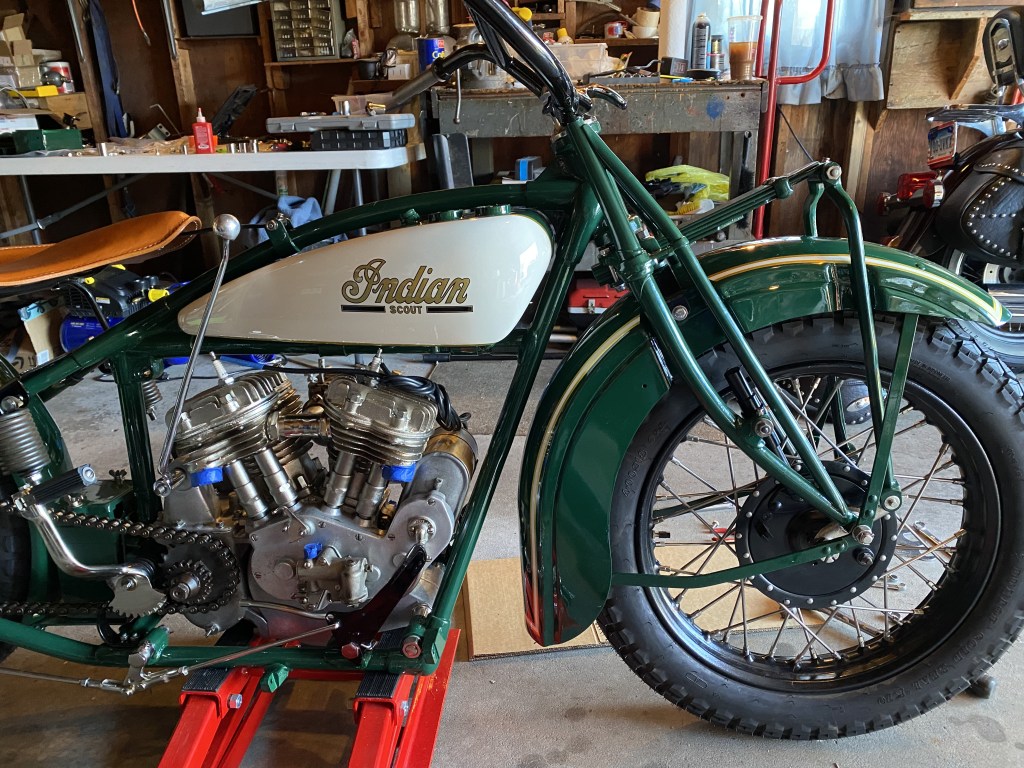
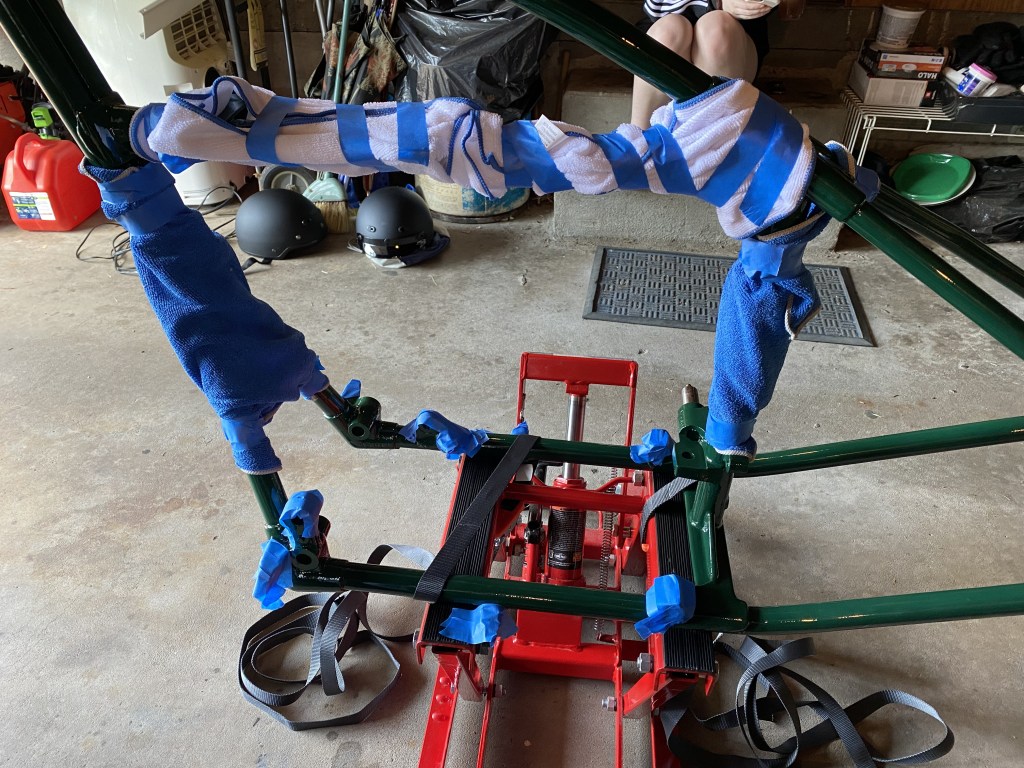
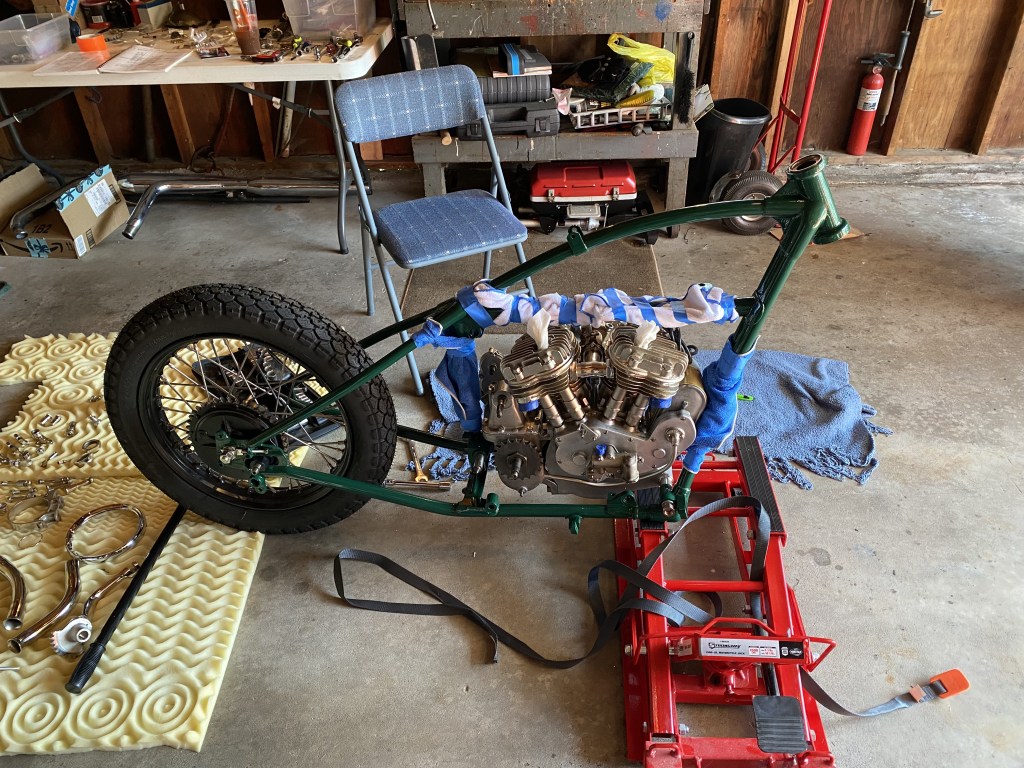
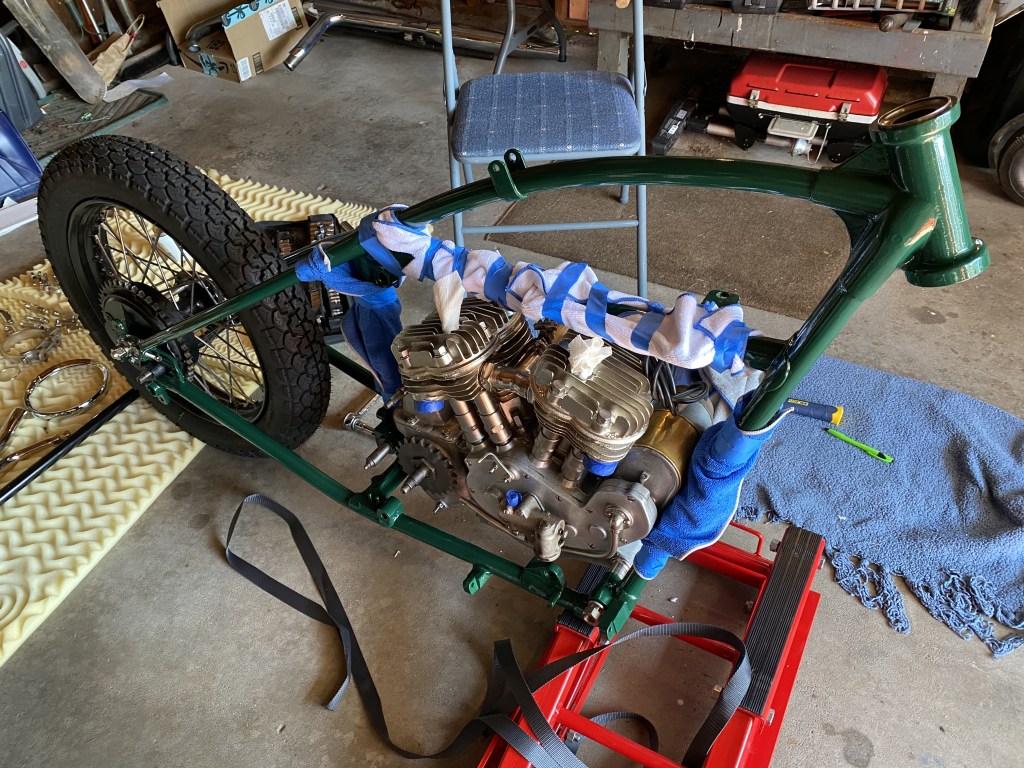
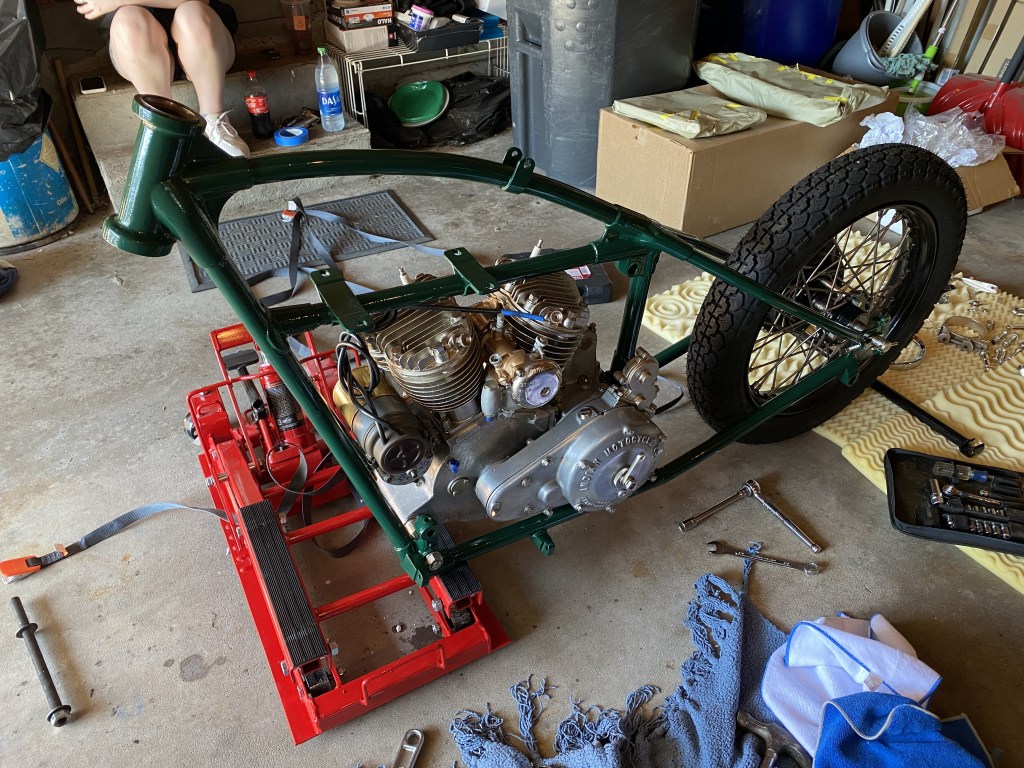
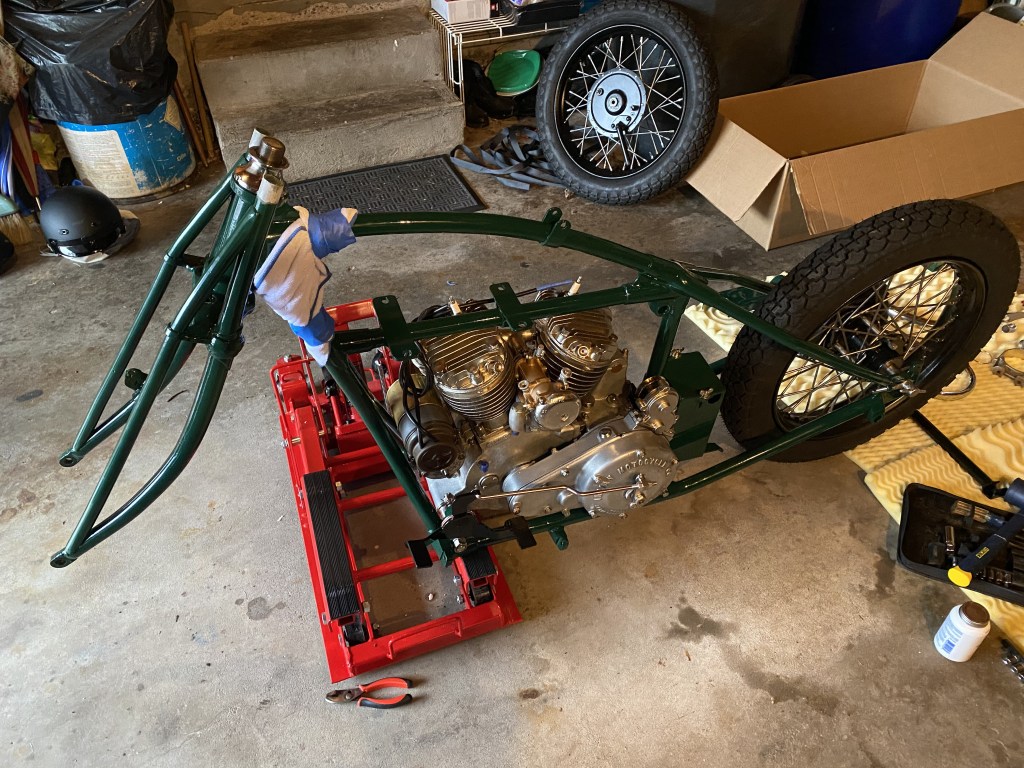
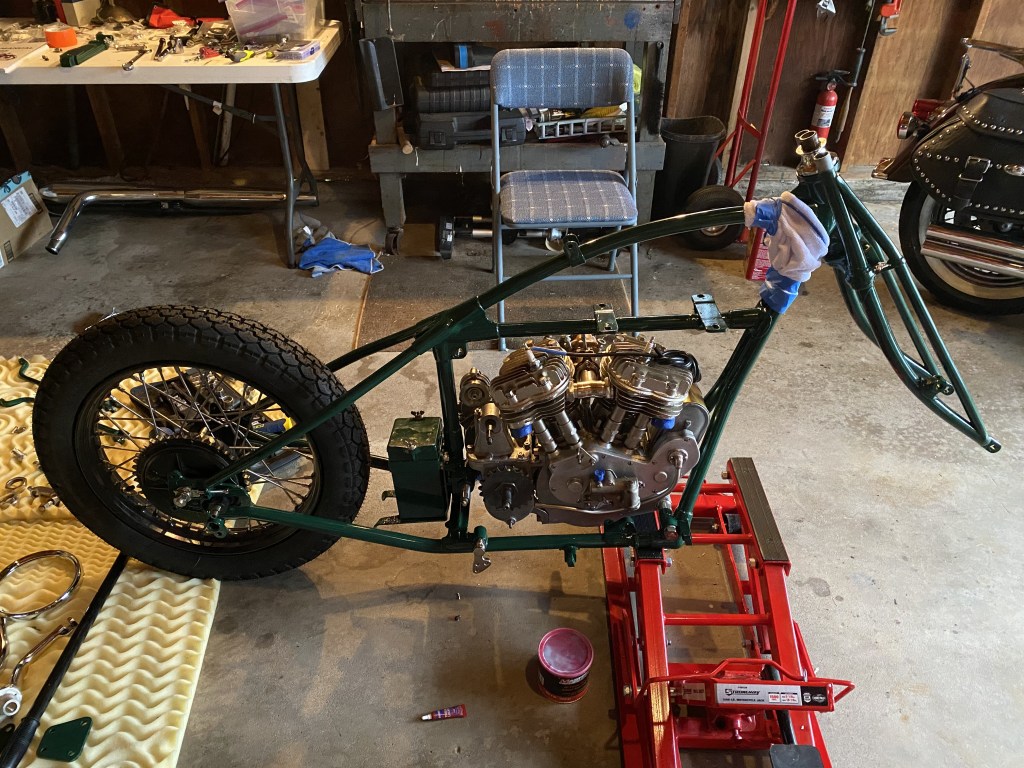
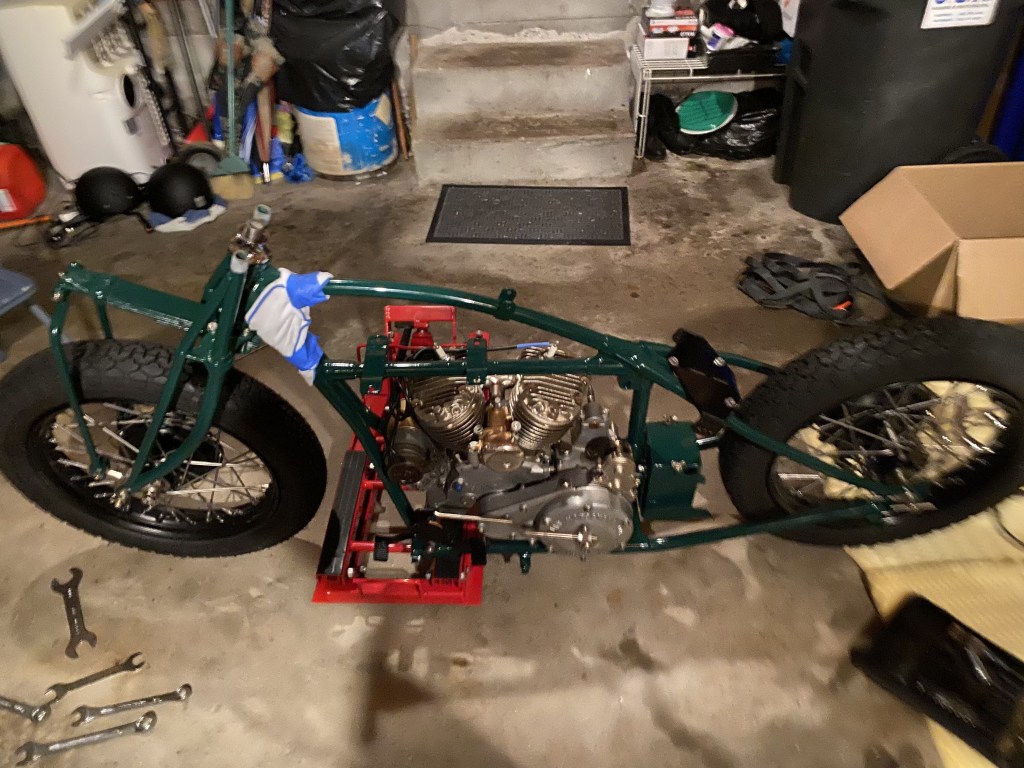
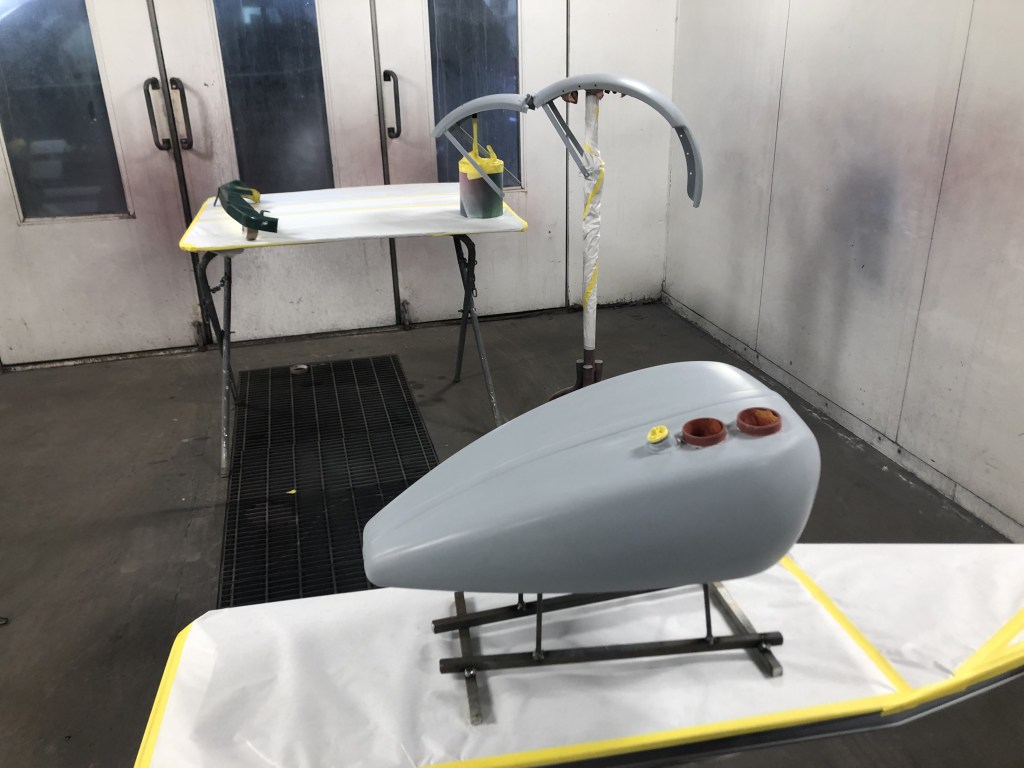
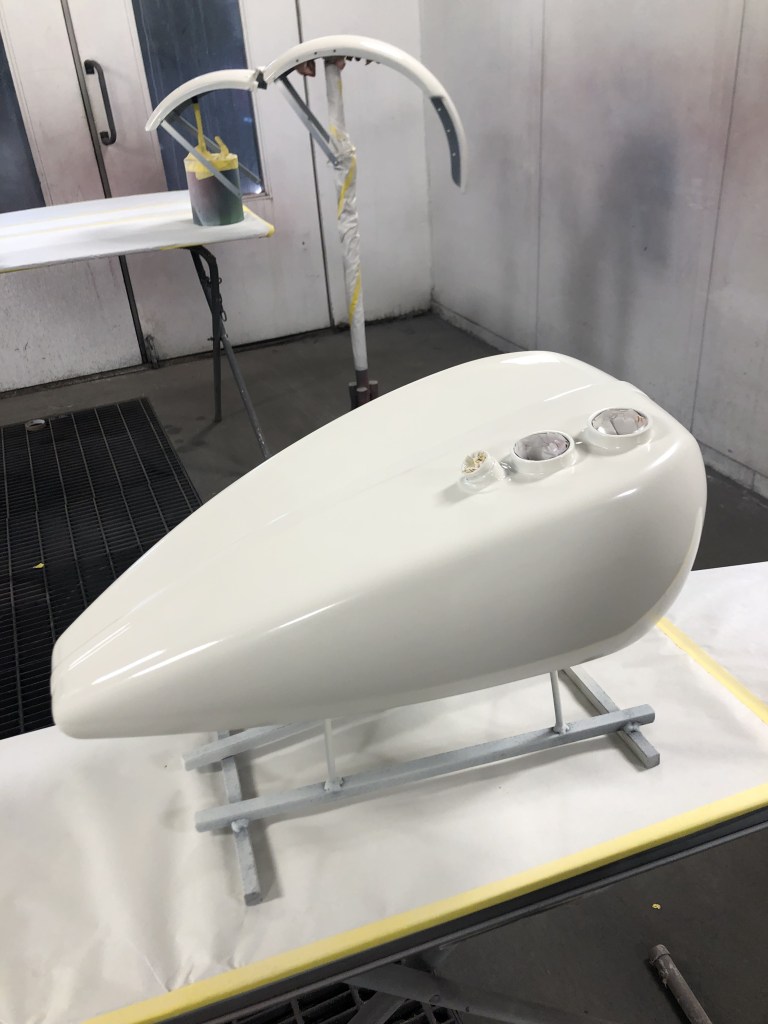
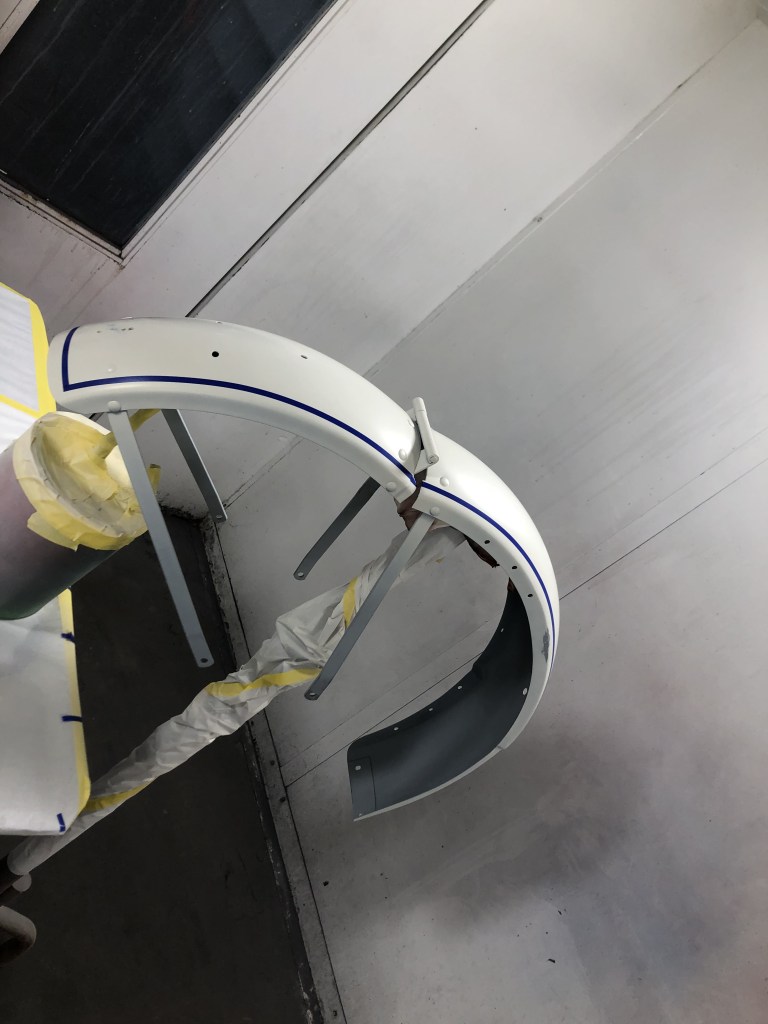
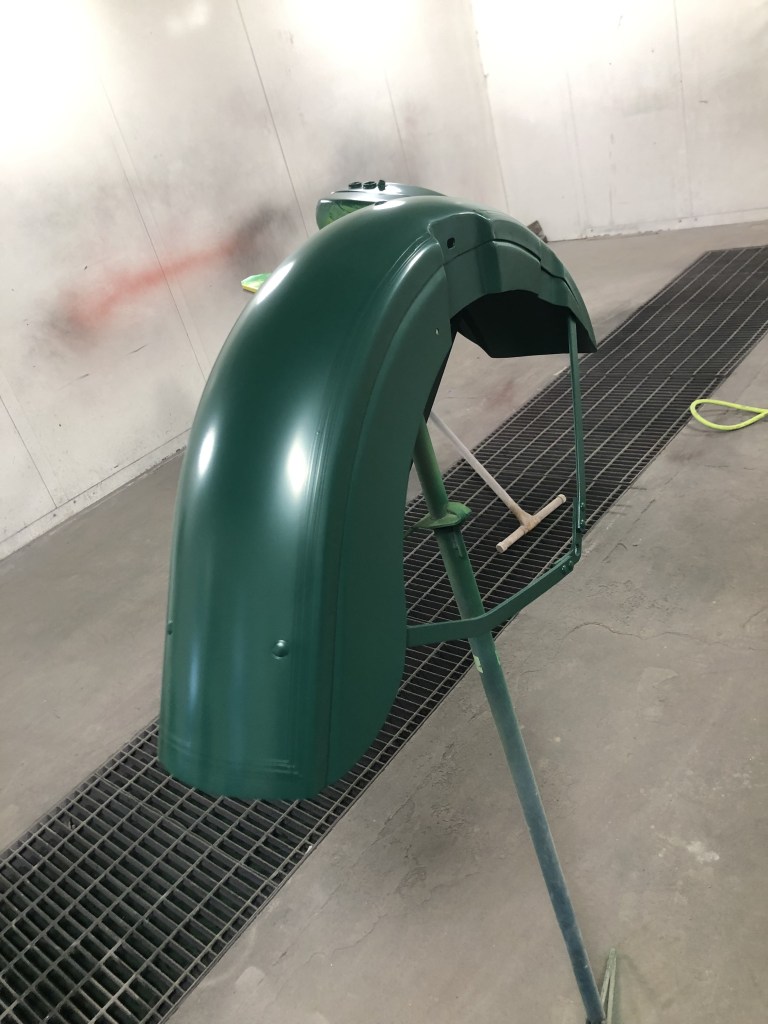
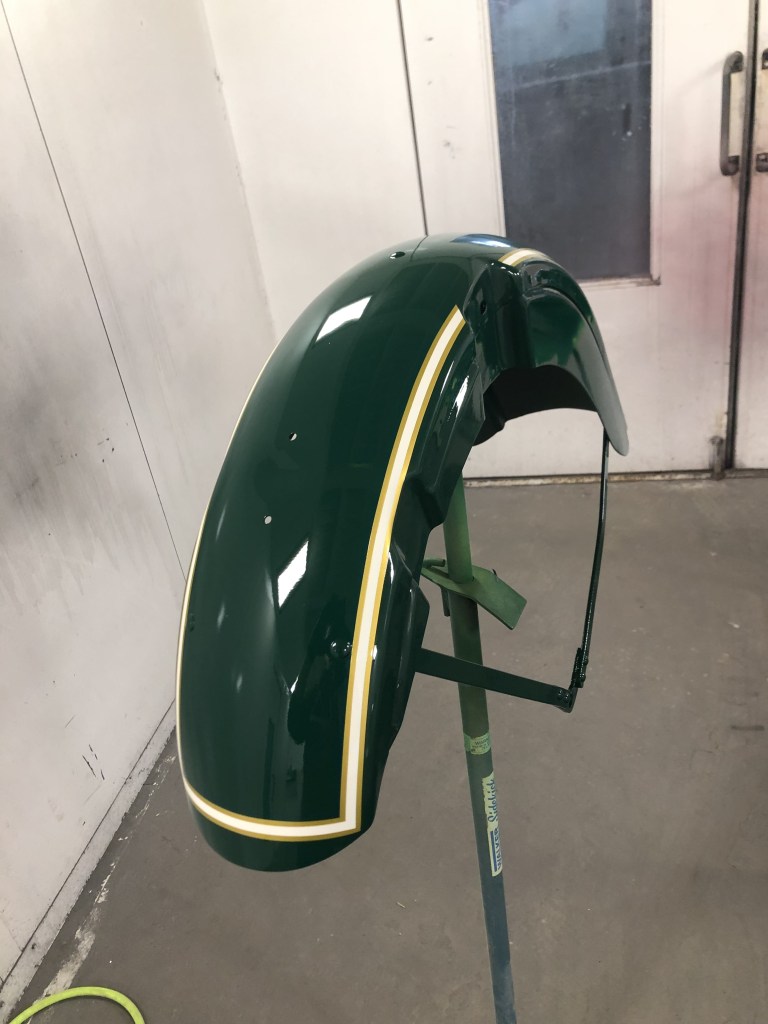
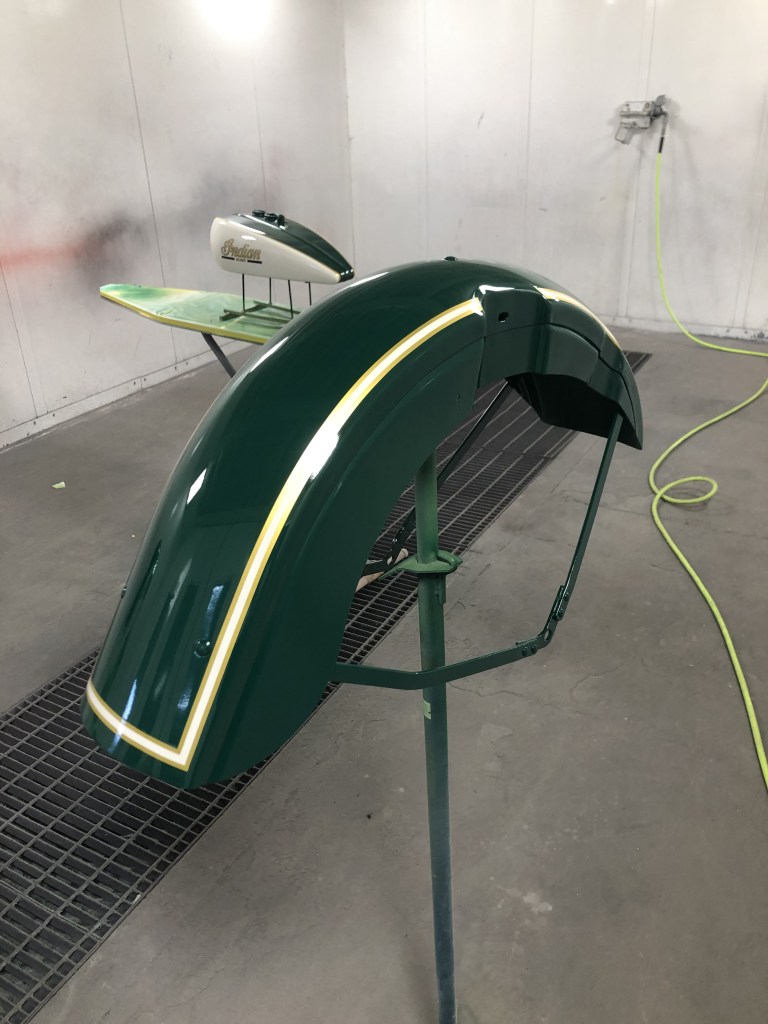
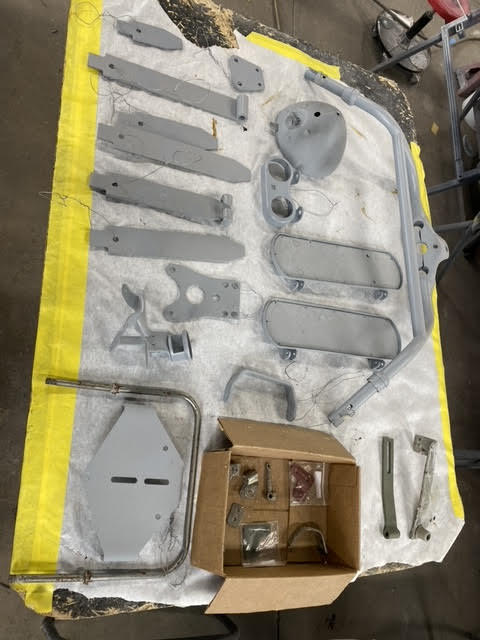
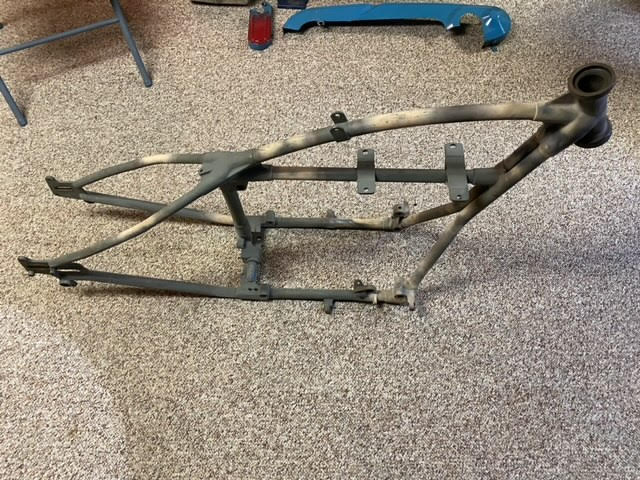
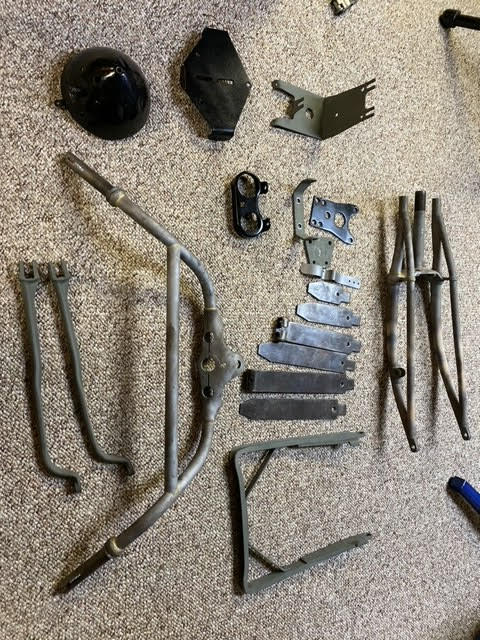
You are going to see a pretty big jump in the project. When I get in the swing of working I oftern forget to take pictures. Well that is exactly what happened. Anyway, Here is the update. Lots of parts went on the bike.

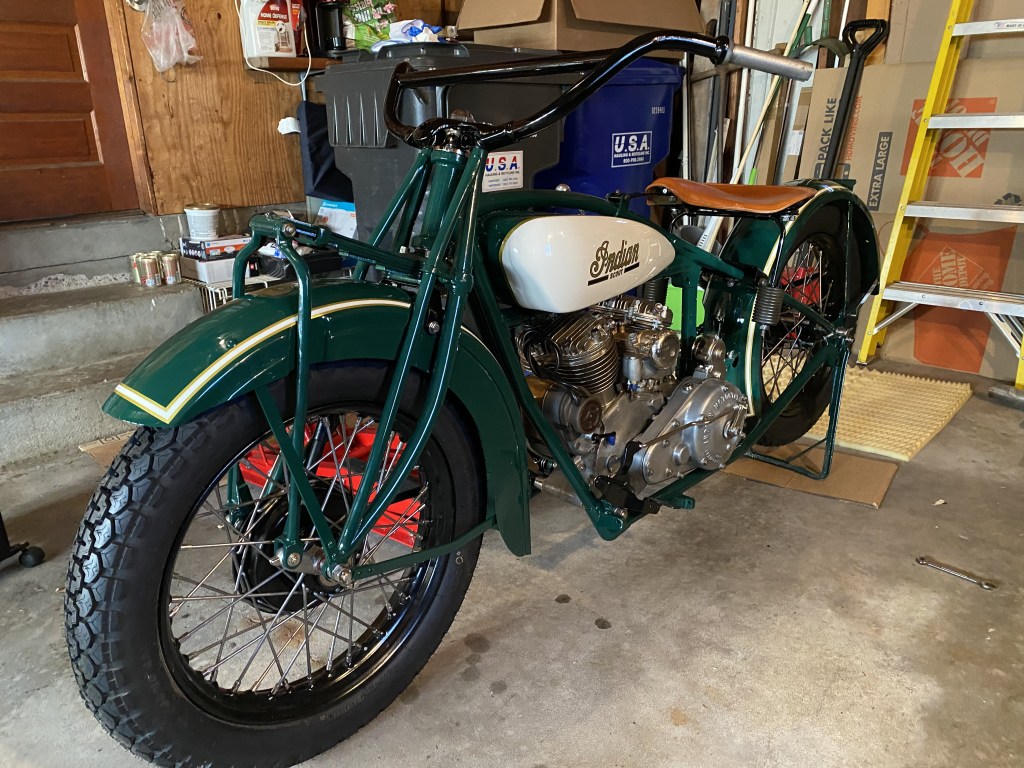
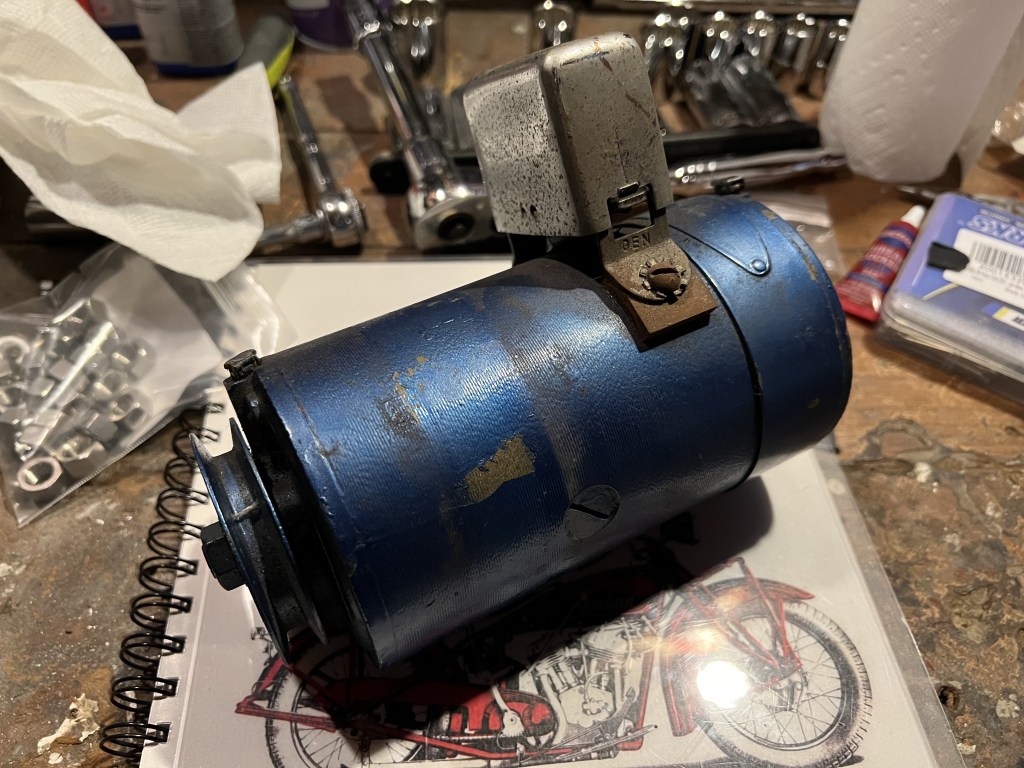
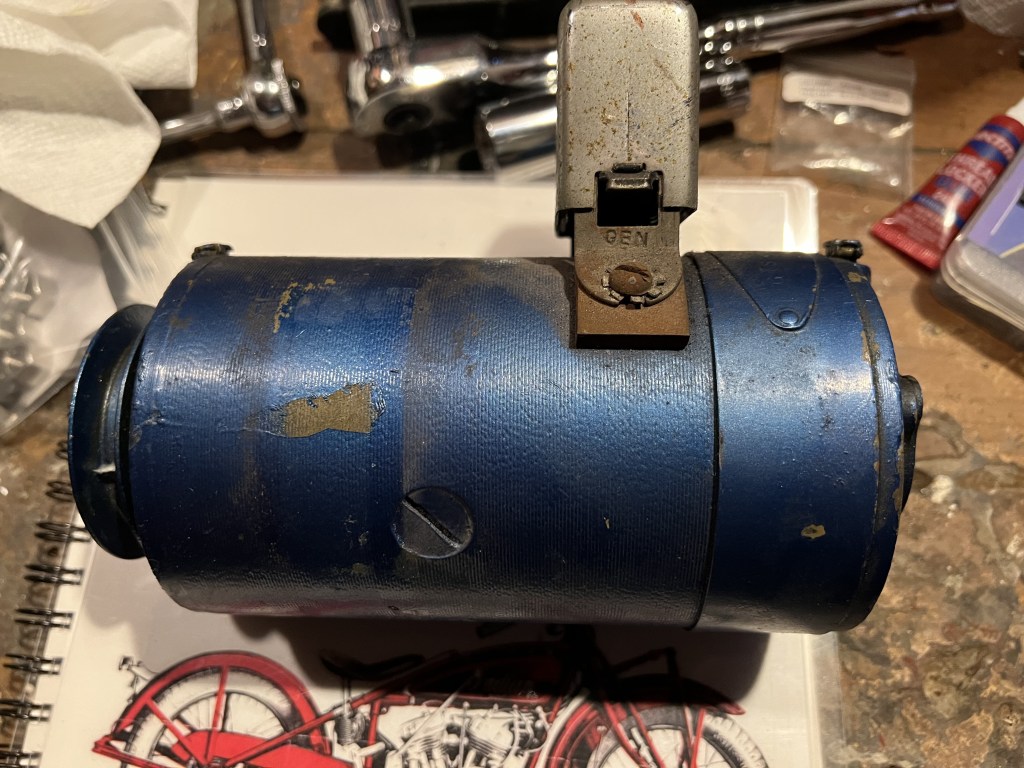
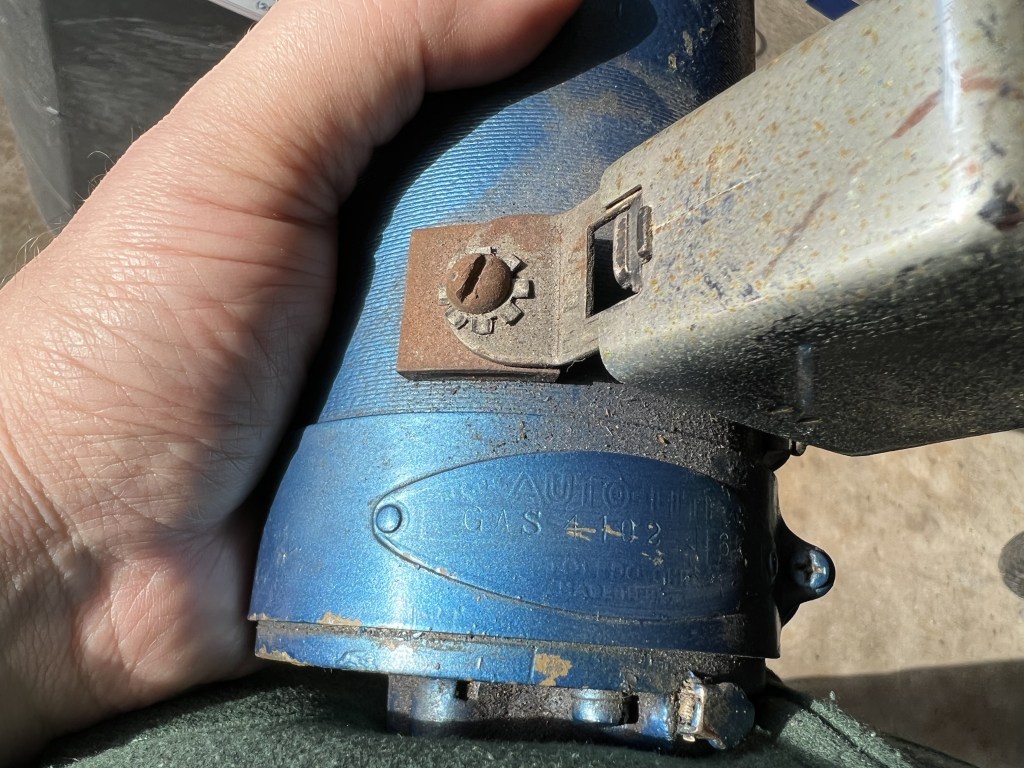
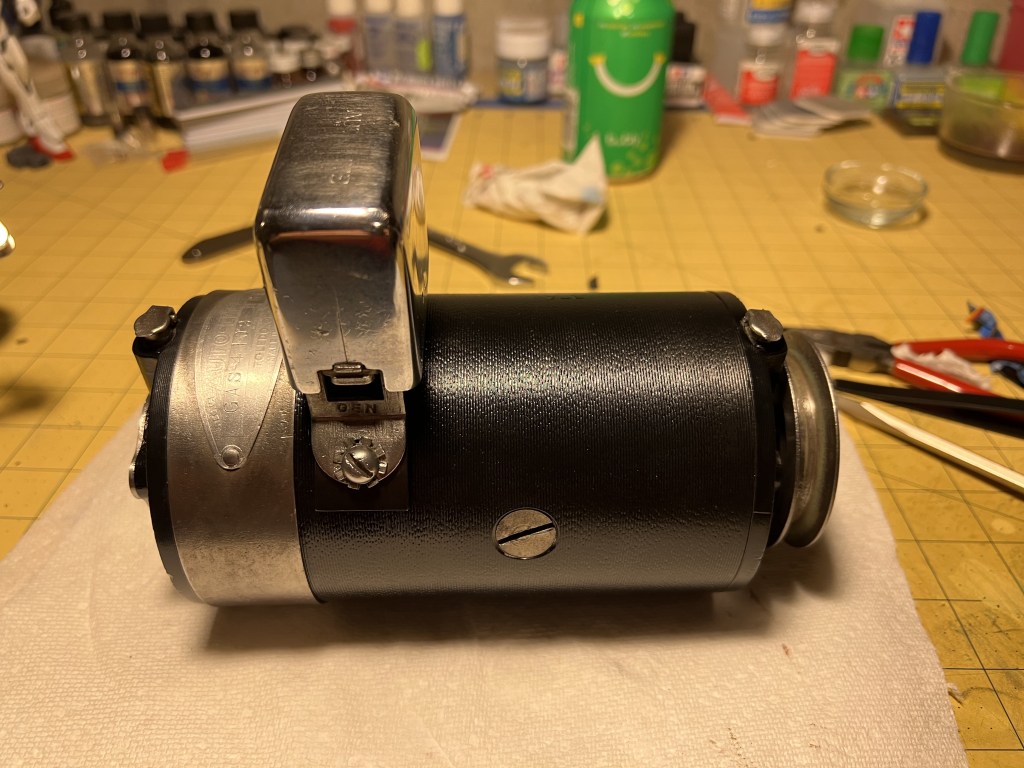
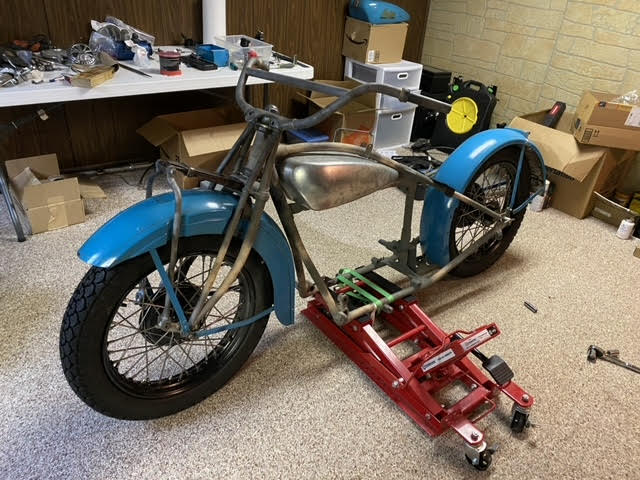
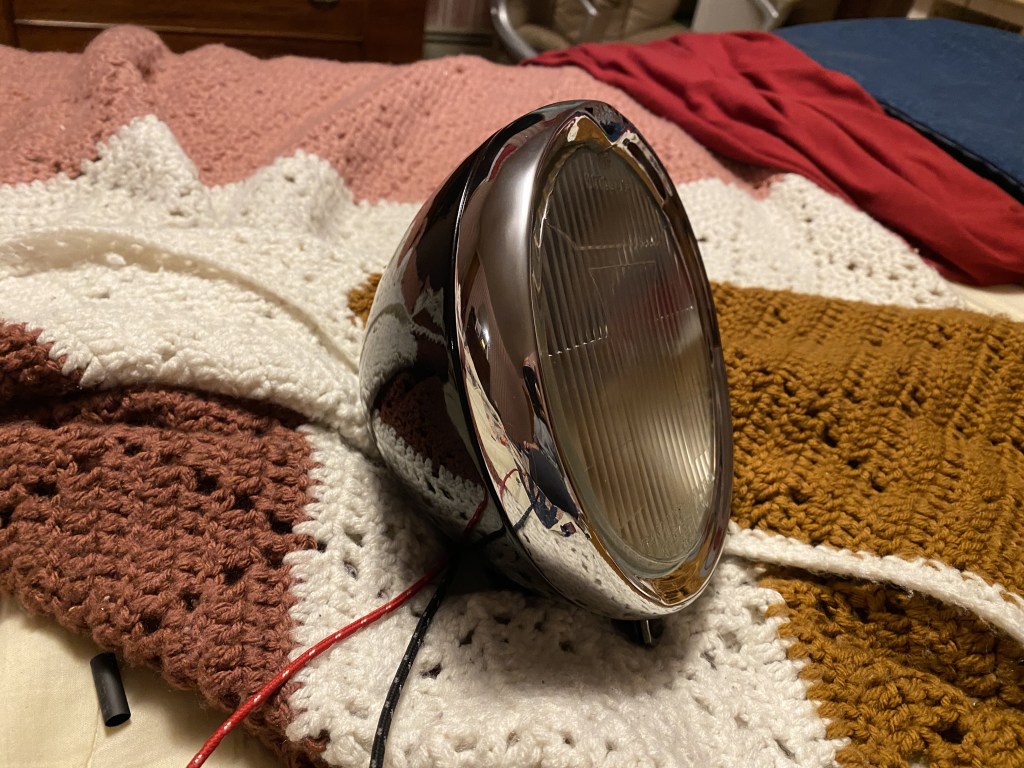
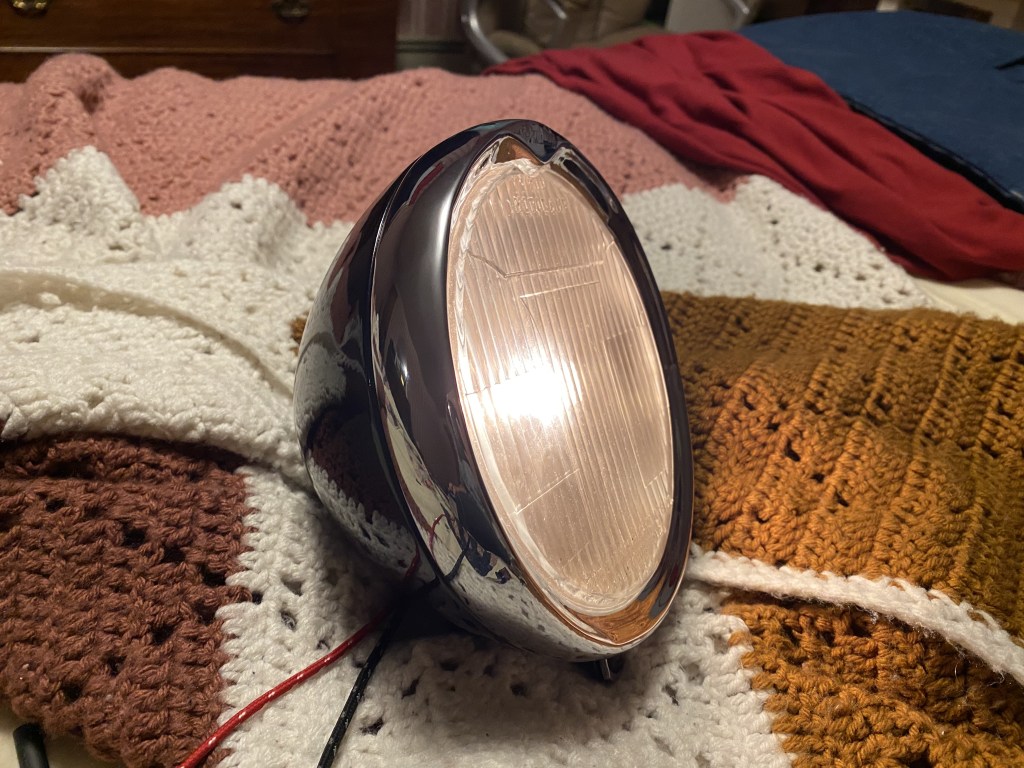
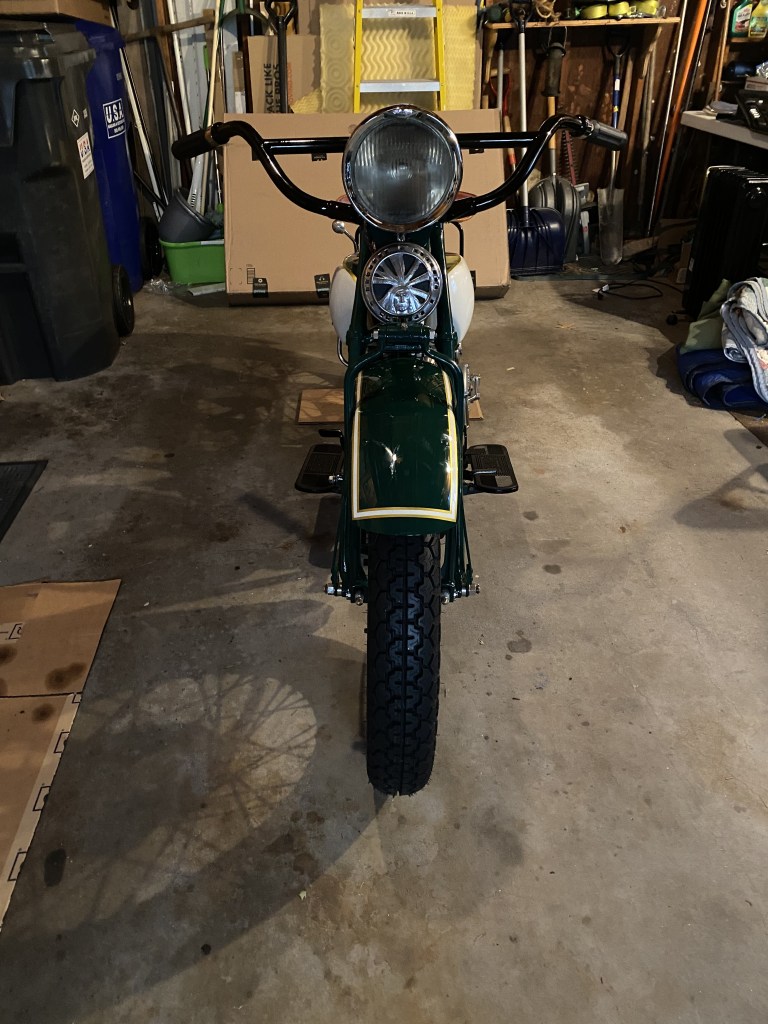
Testing the headlight. I kept the electrical 6 volts even though I was not planning to run the generator. At least this way I can if I want to.

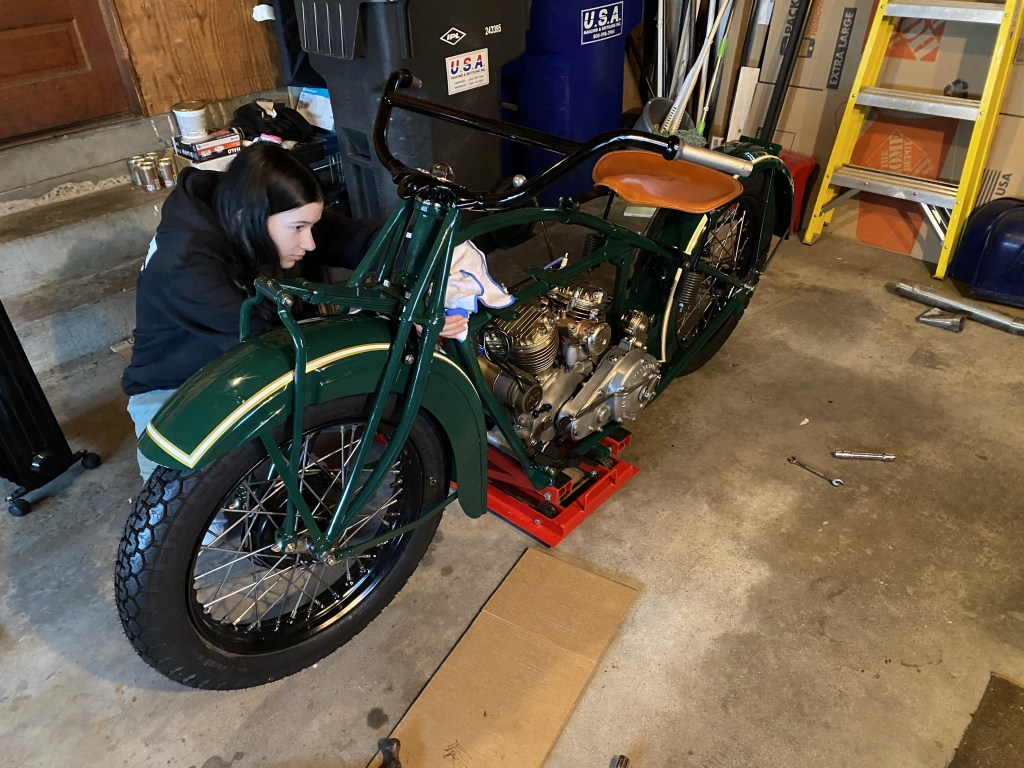
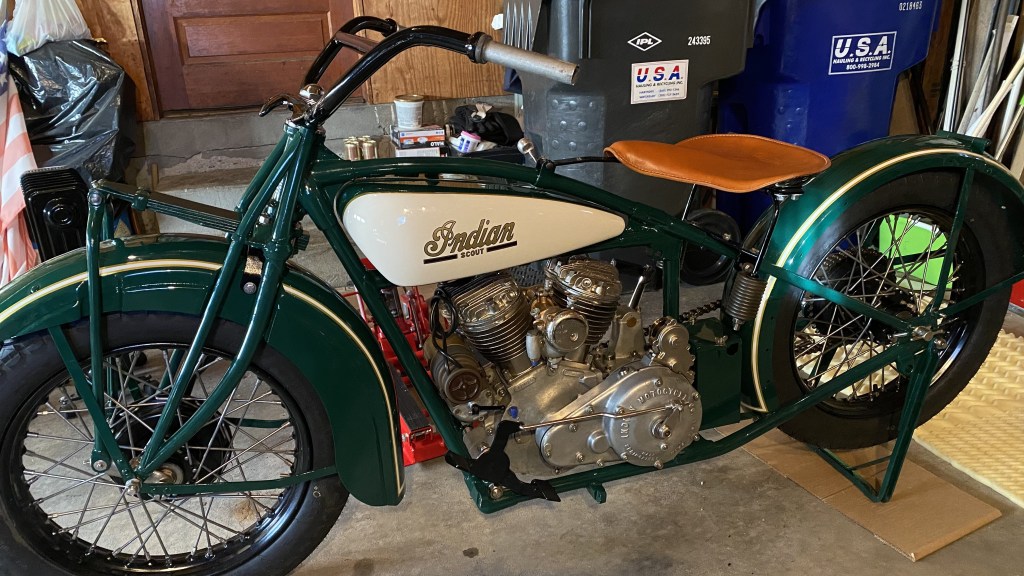
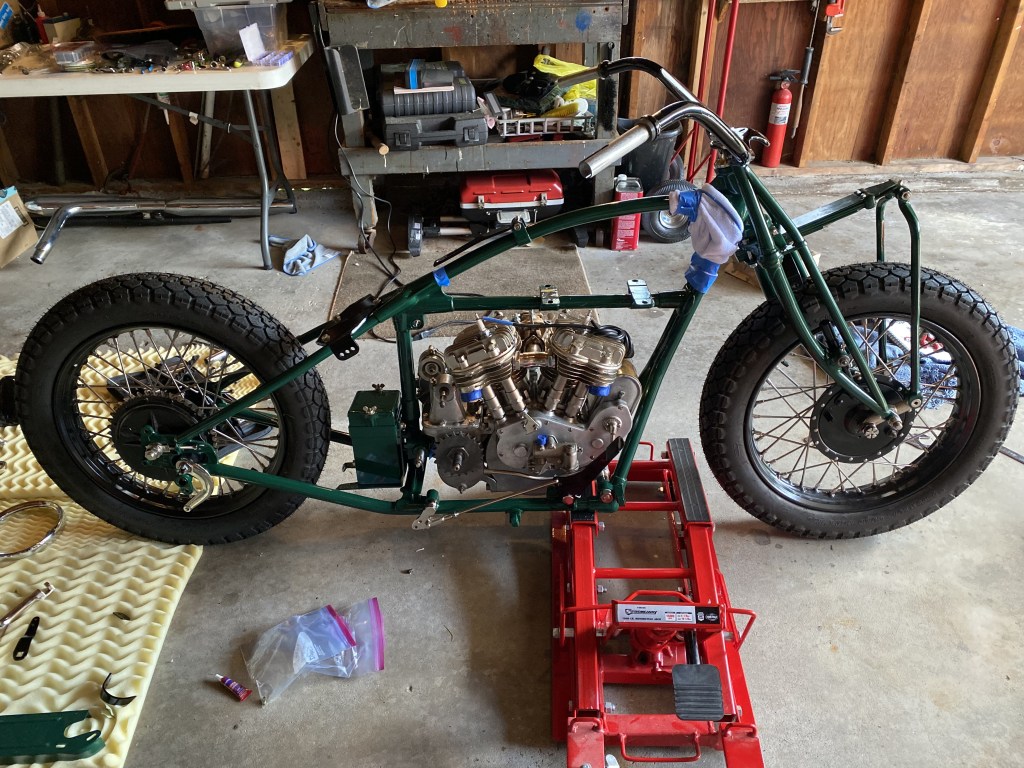
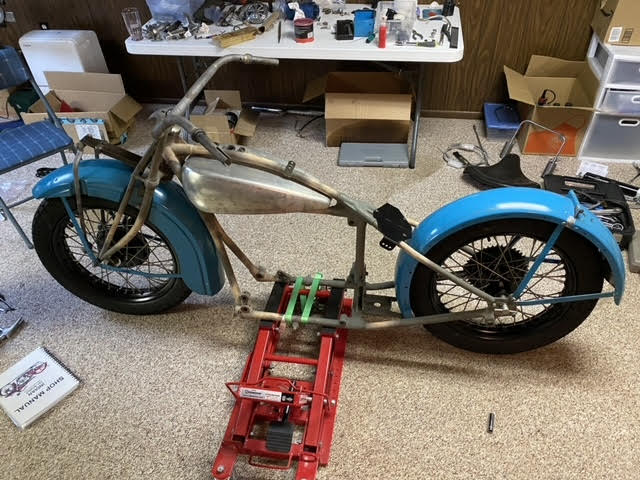
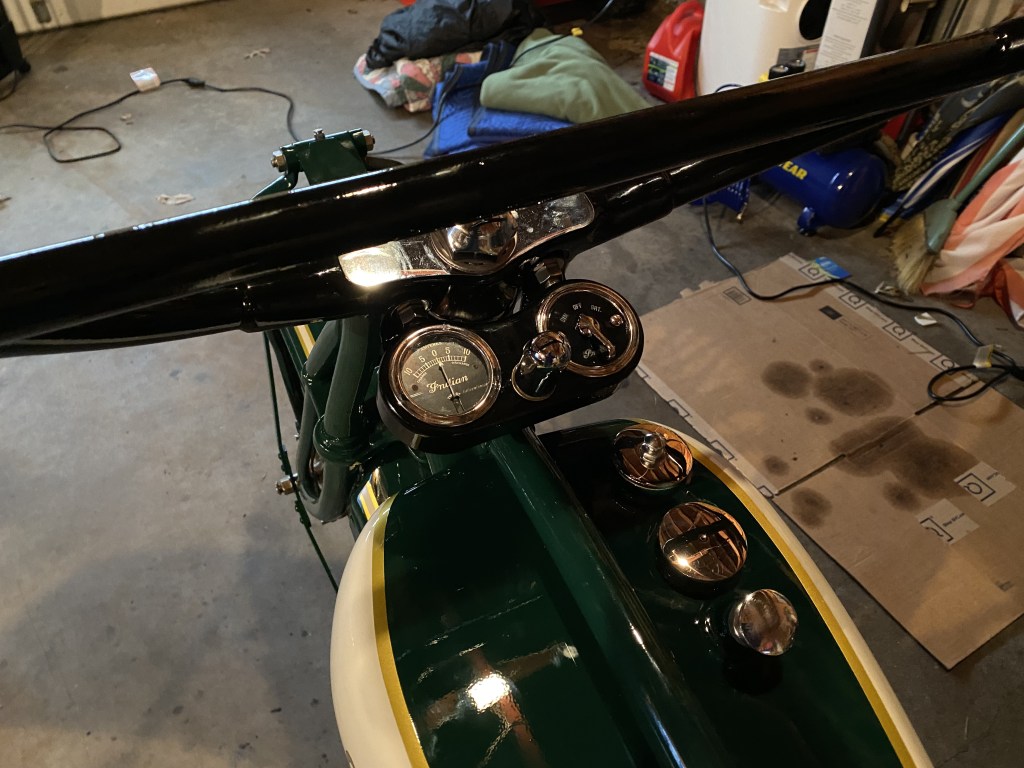
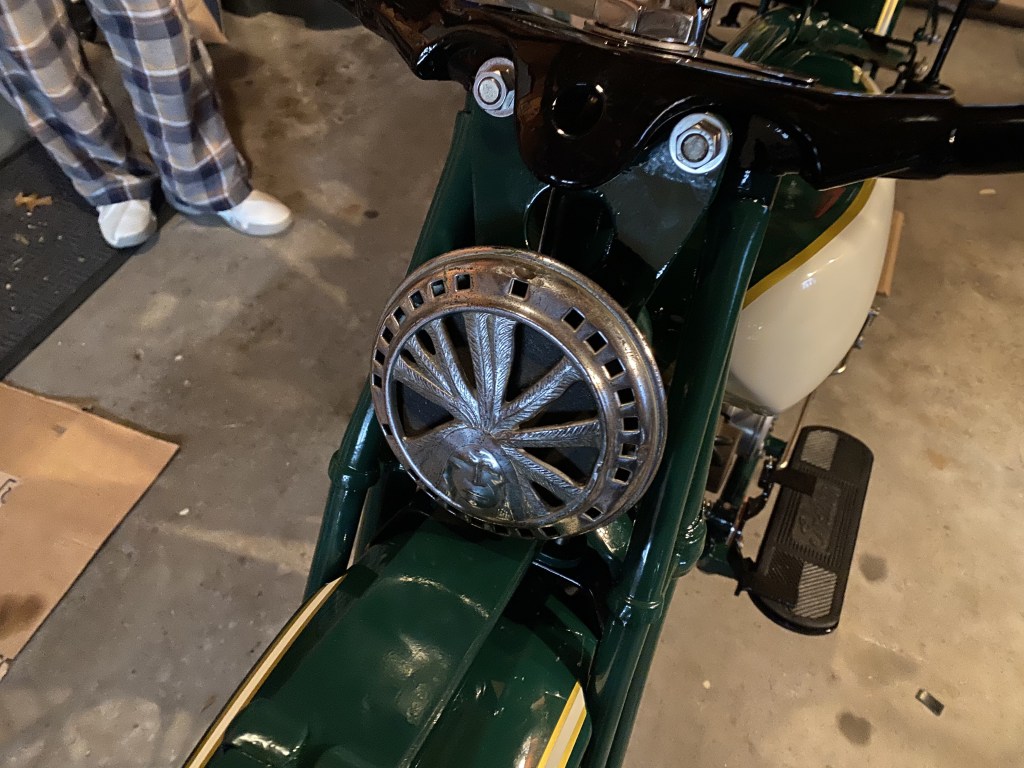
Dash and Horn install. This all came back off to run the wiring harness and control cables. Just for fun I wanted to keep one part of the bike unrestored. When looking at the Indian headers horn I knew this was the part. It just looked perfect the way it is so I left it alone. Its also very easily removable if I ever do decide to have it re-plated.

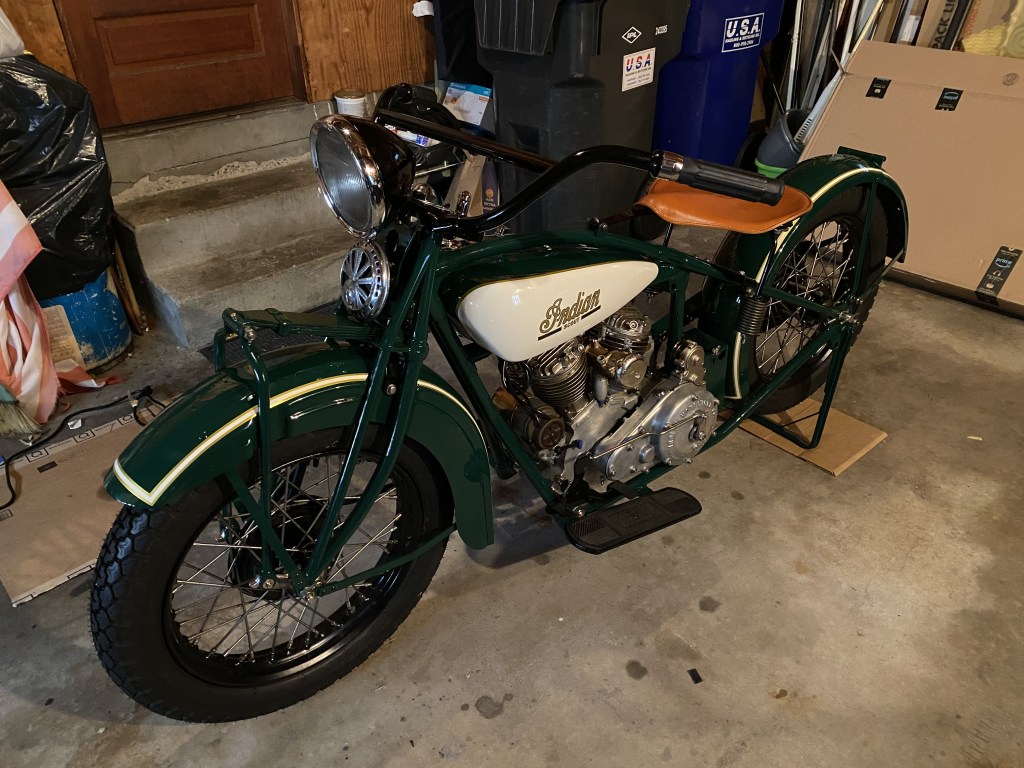
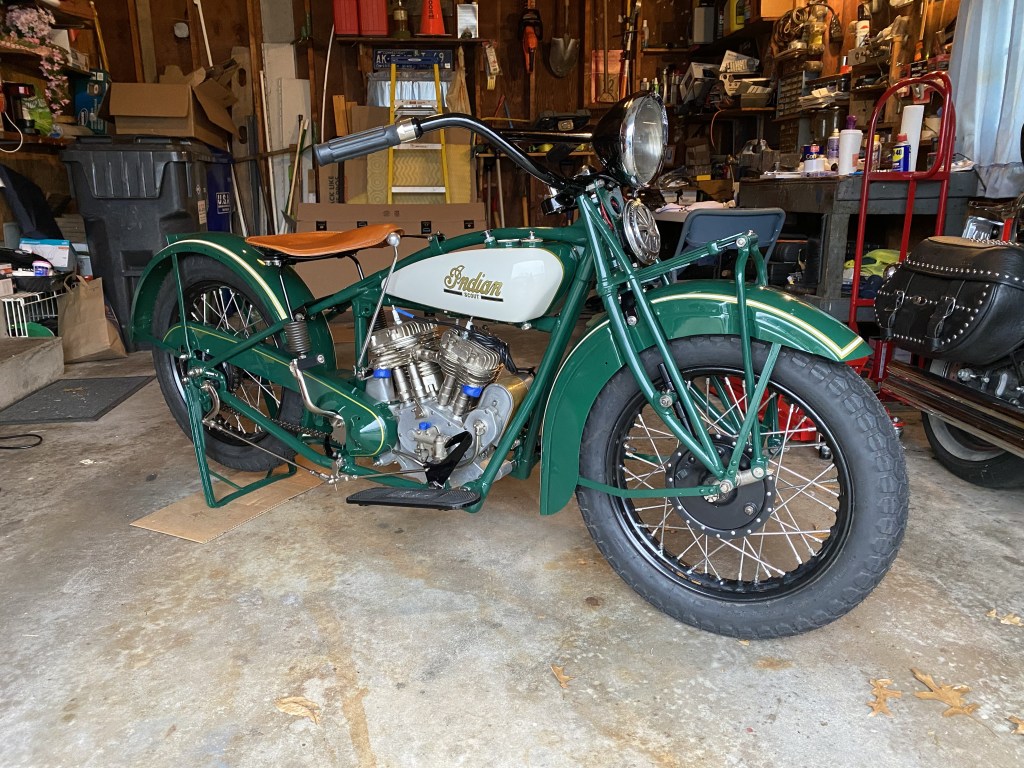
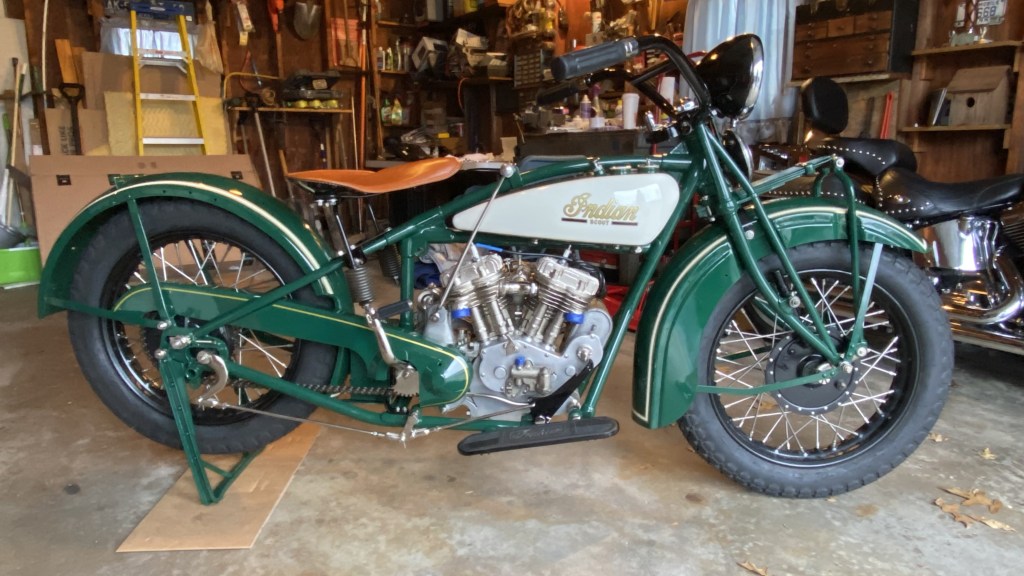
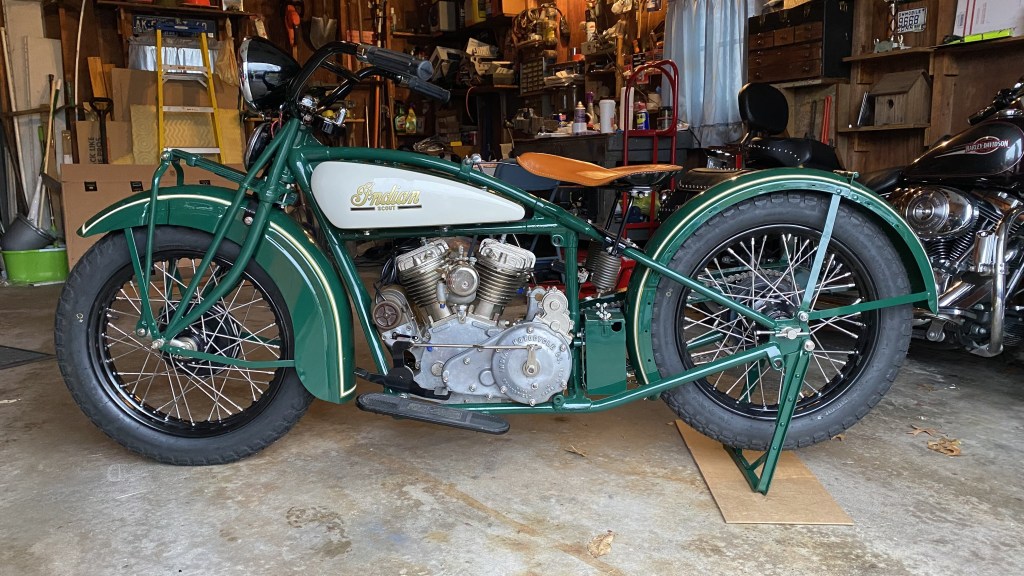
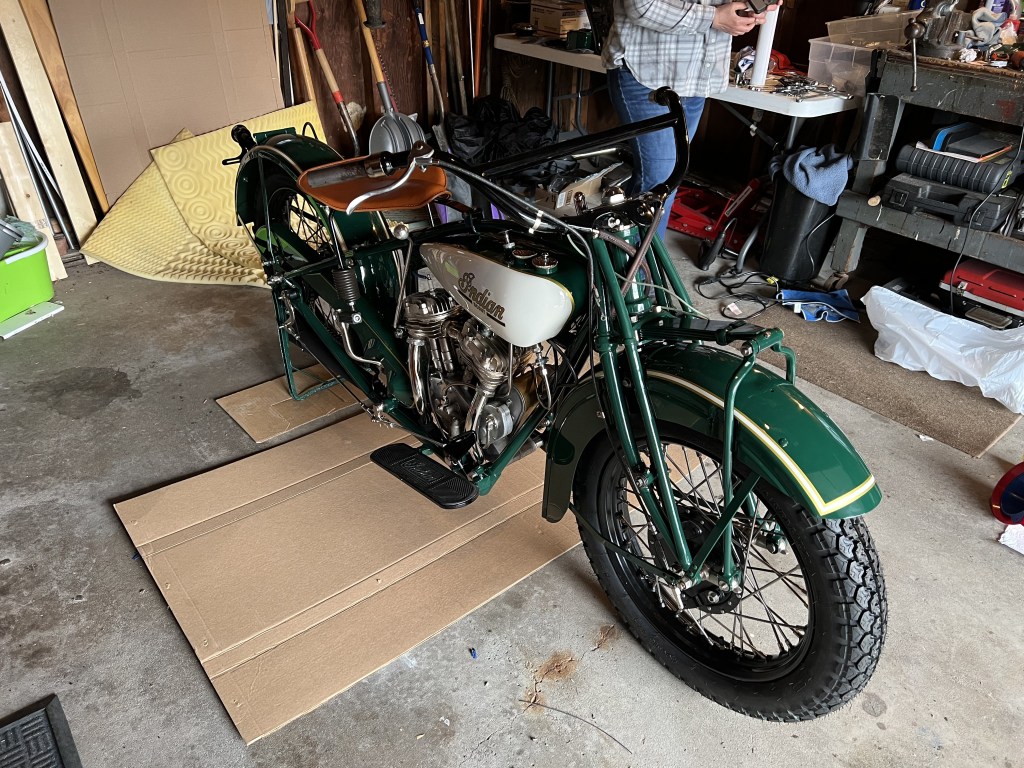
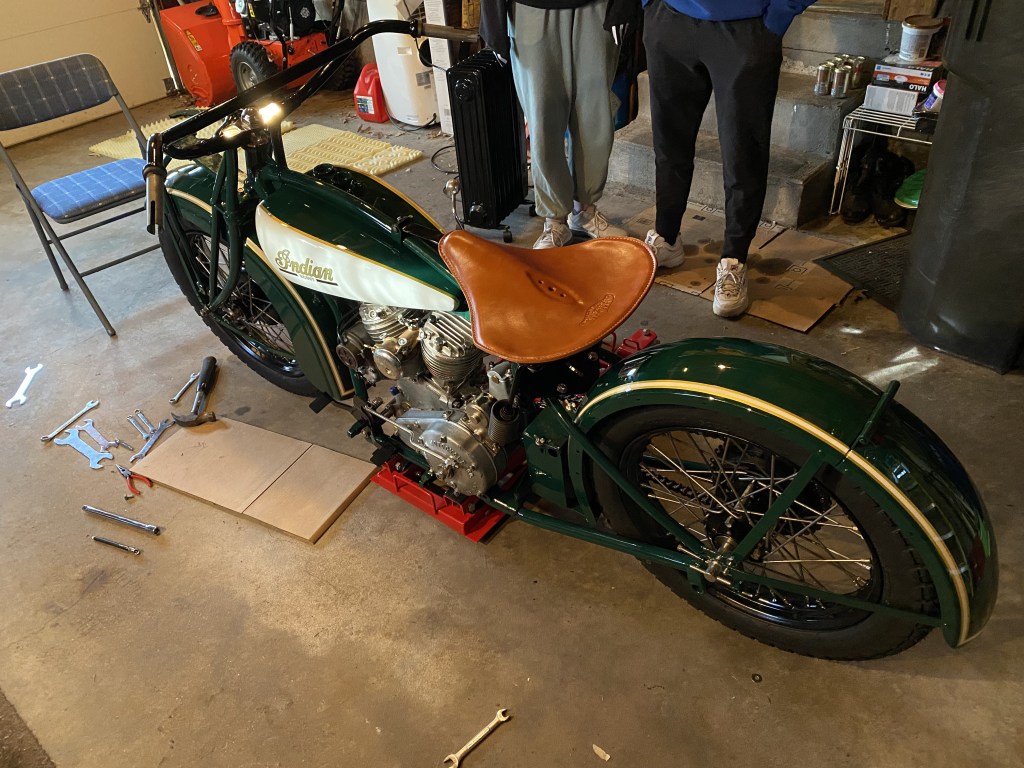
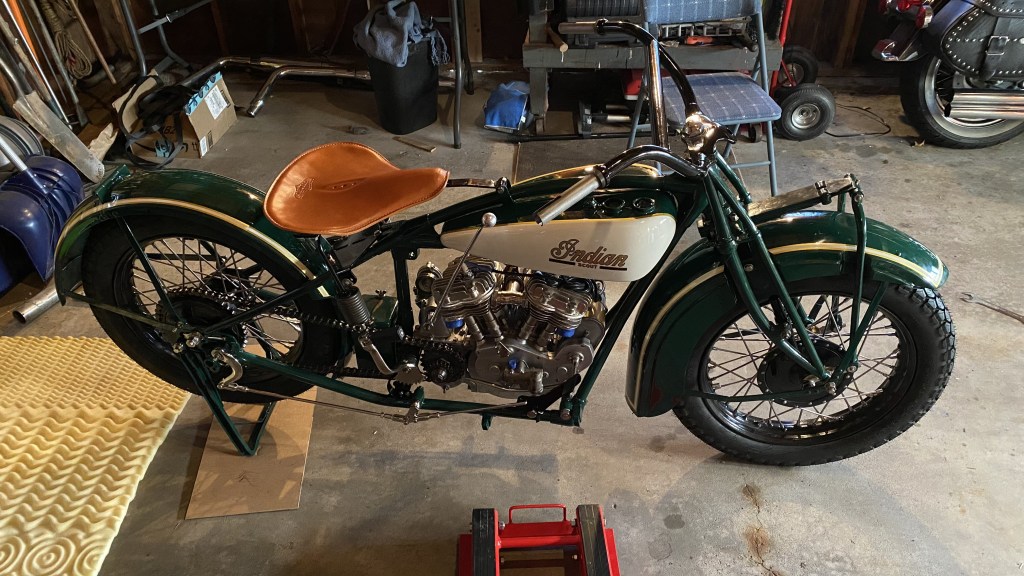
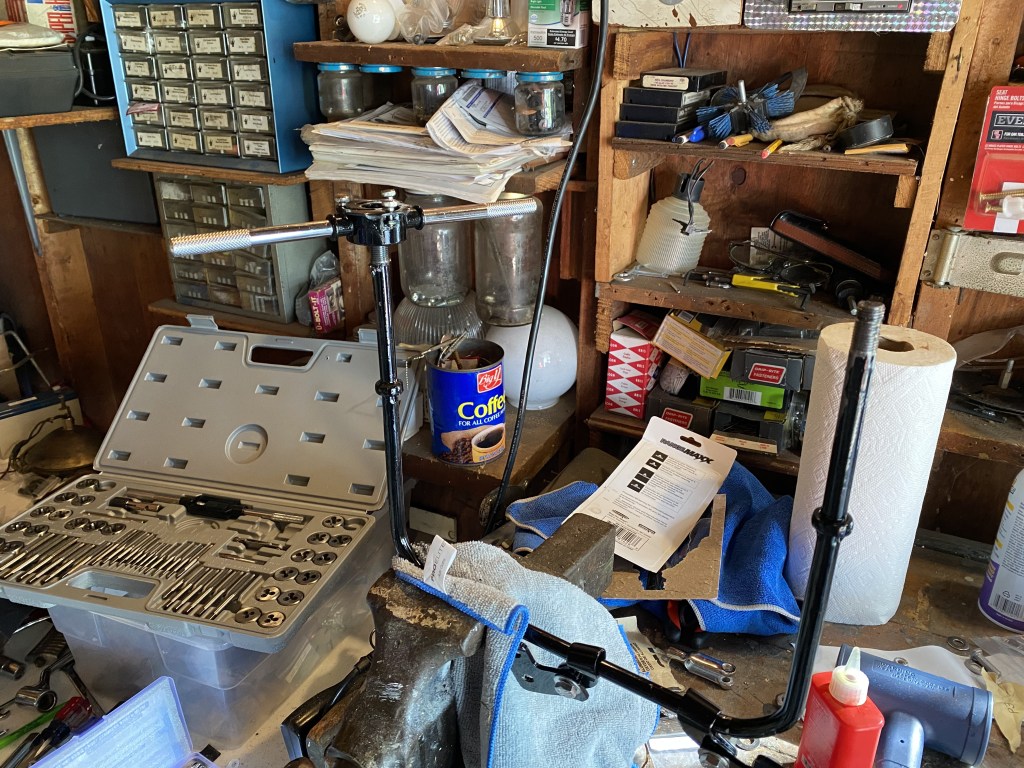
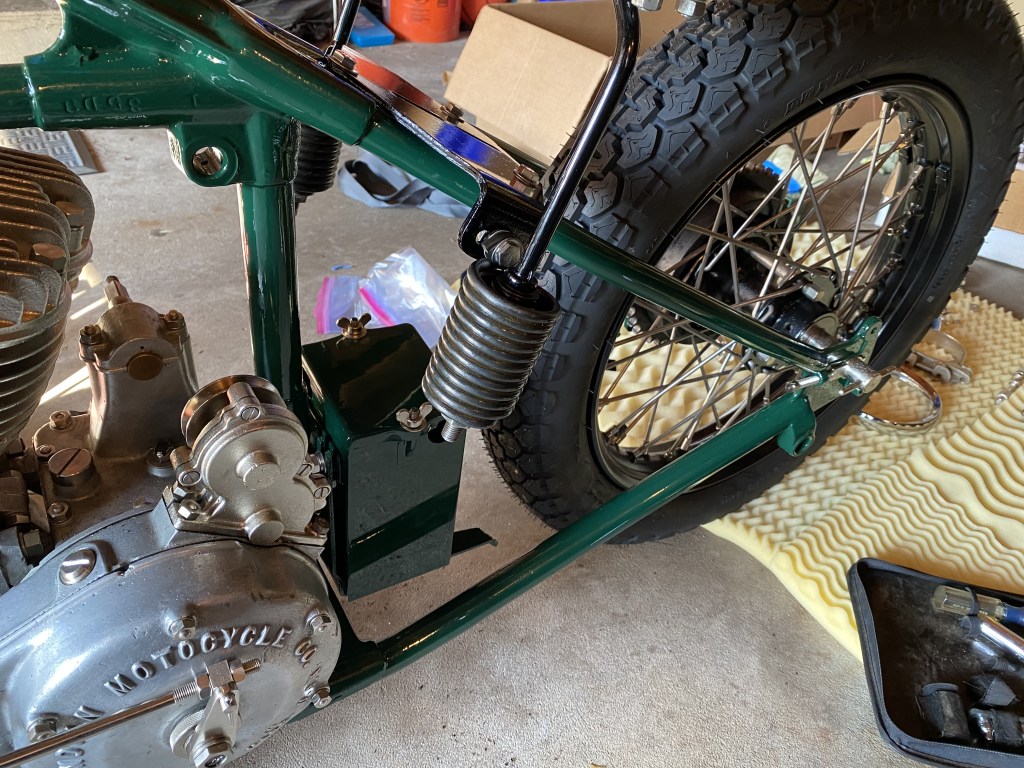
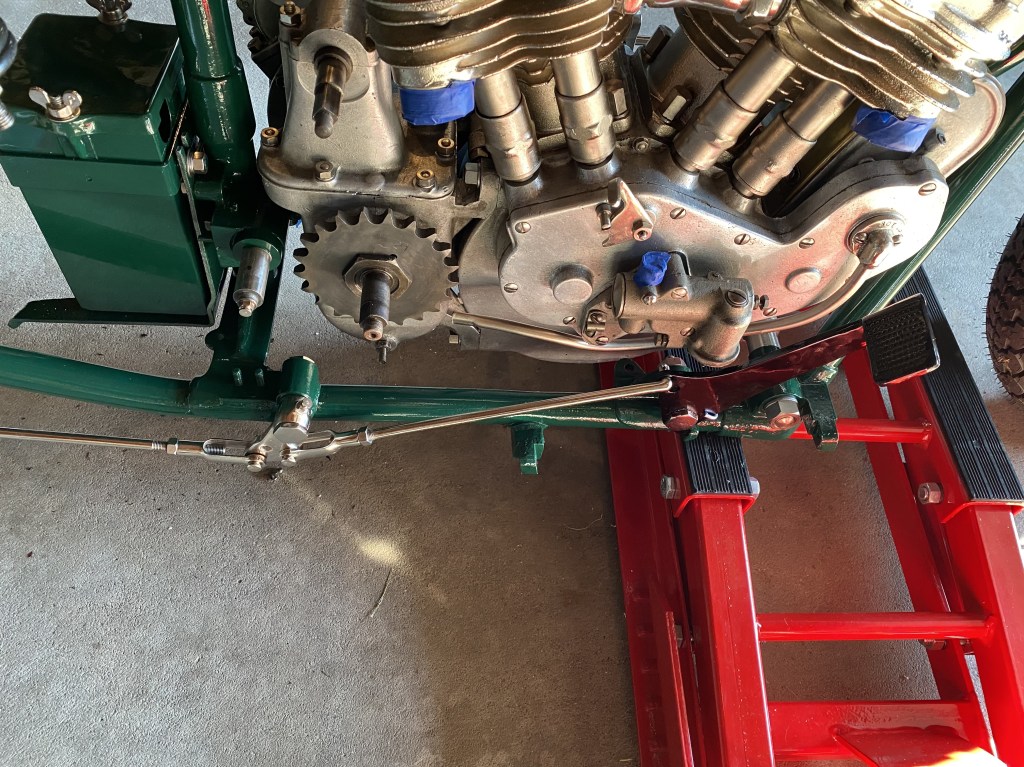
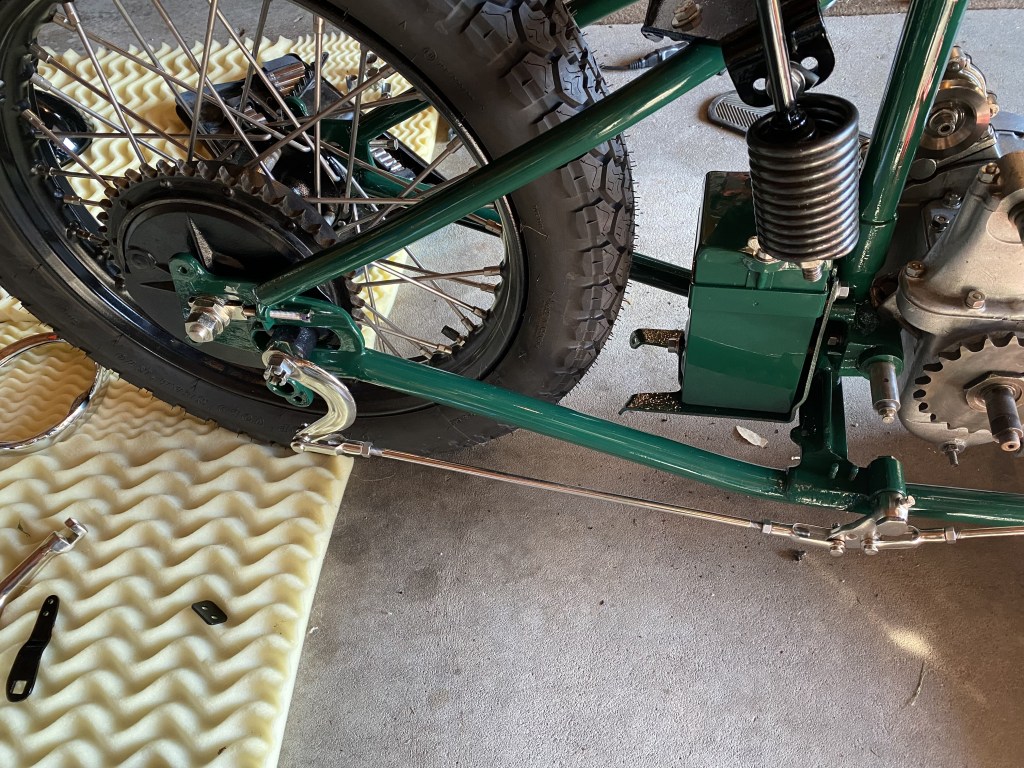
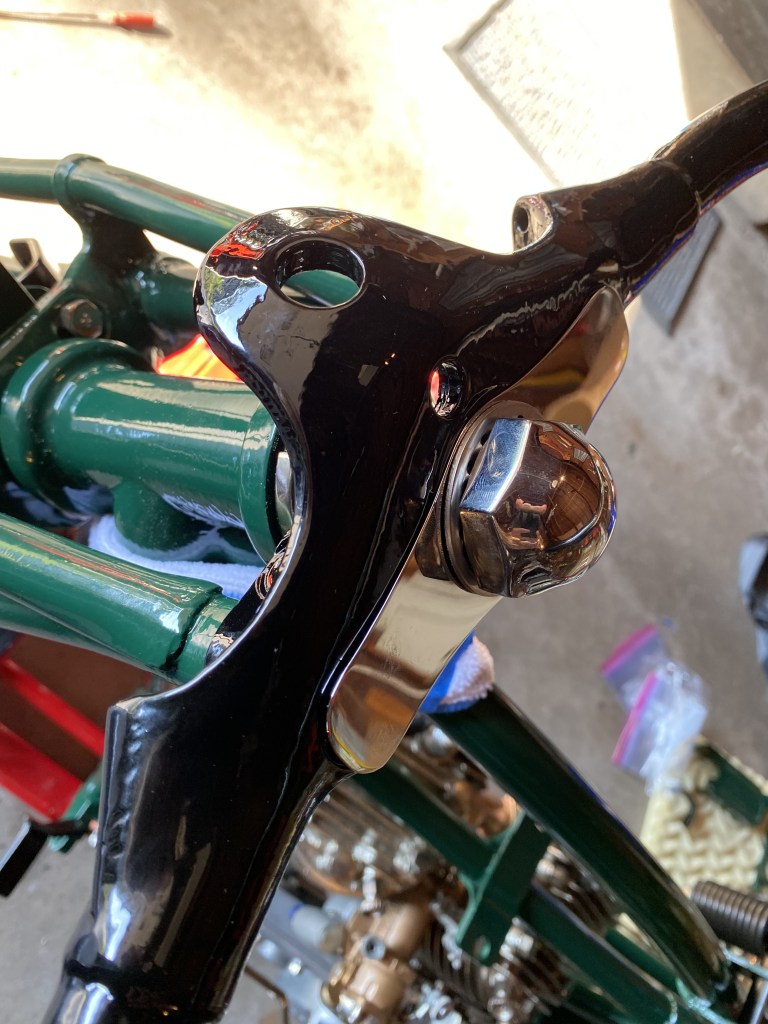
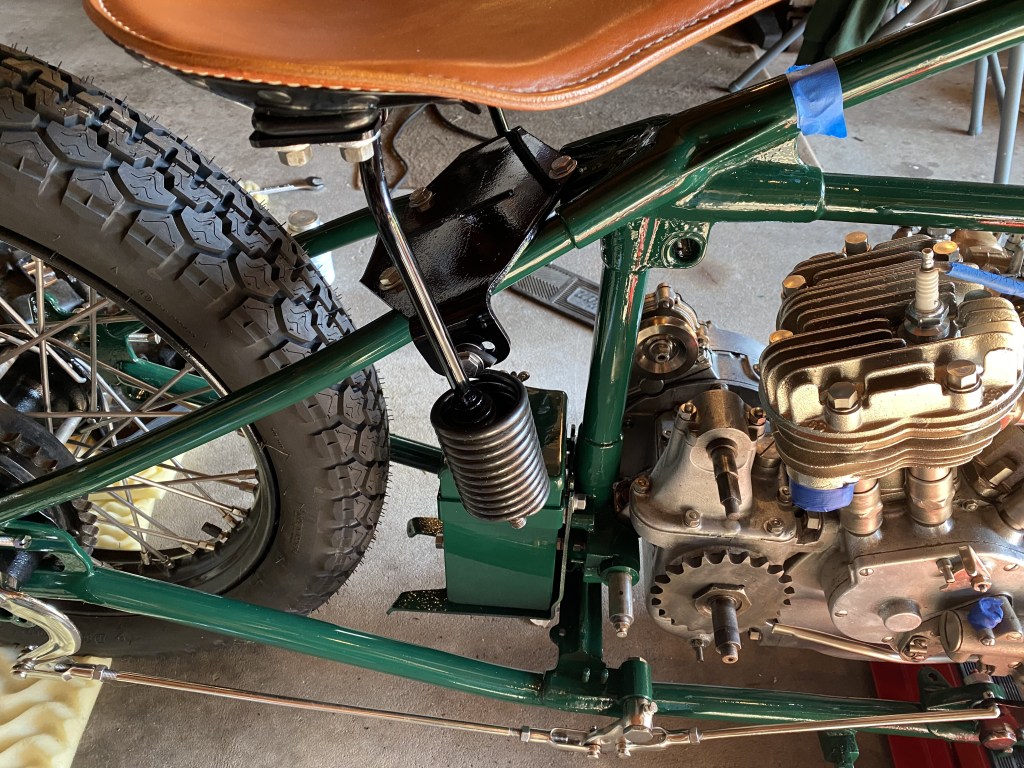
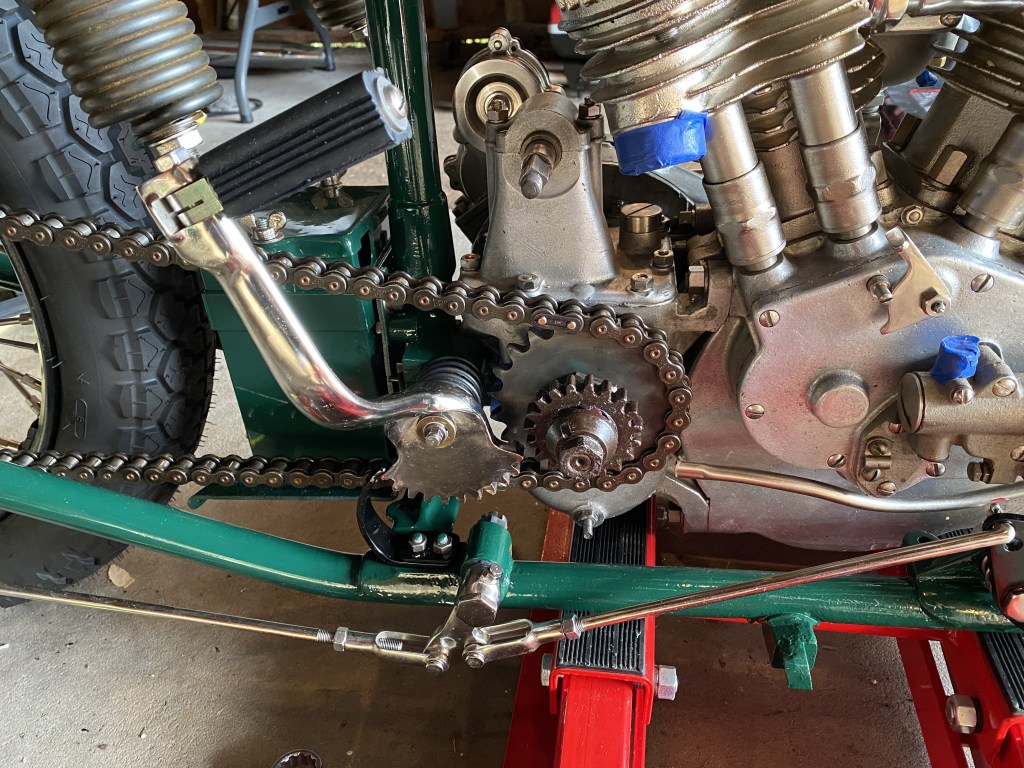
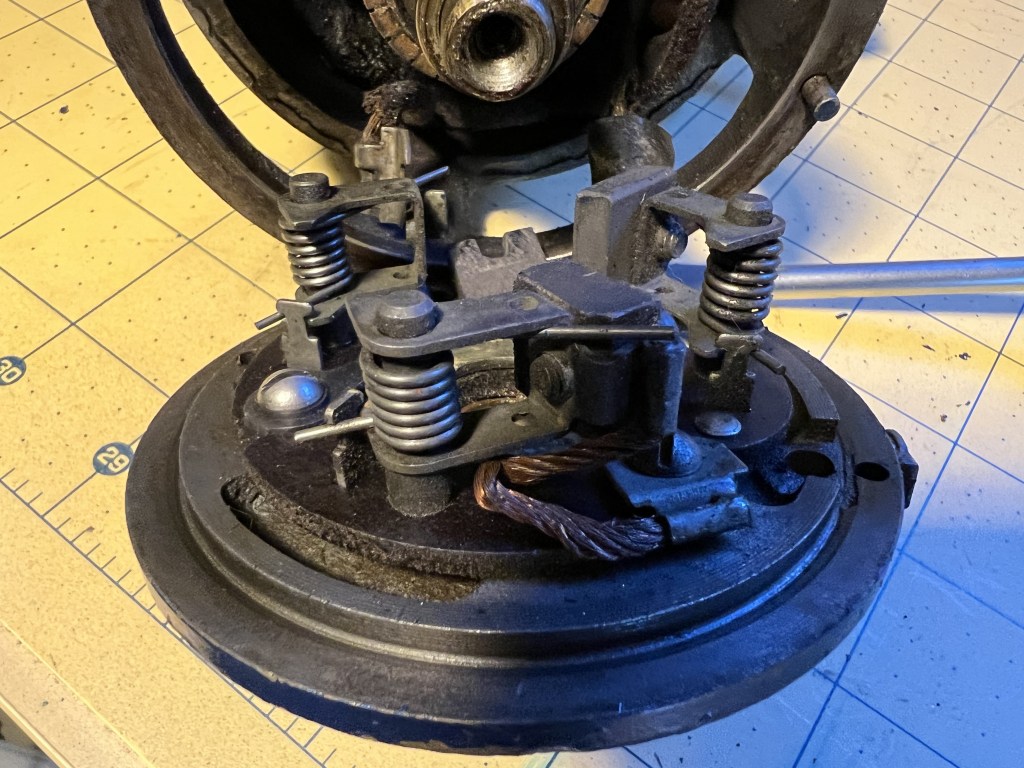
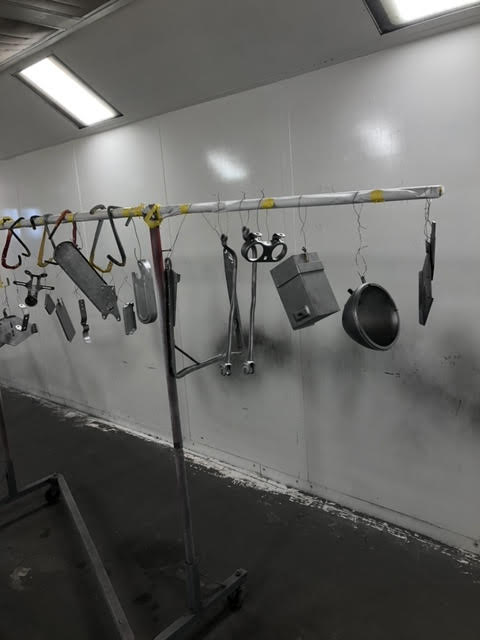
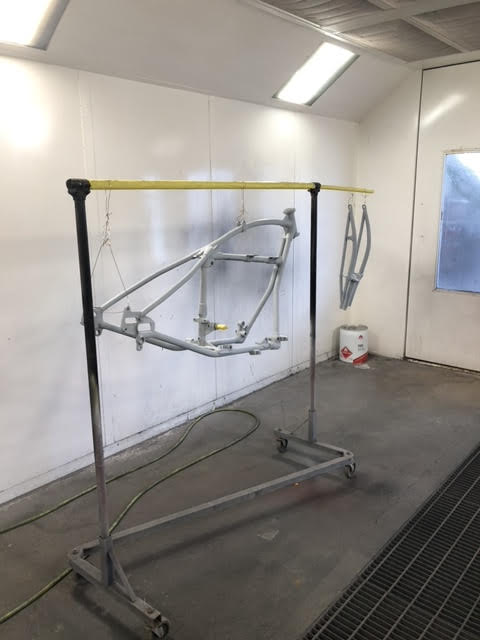
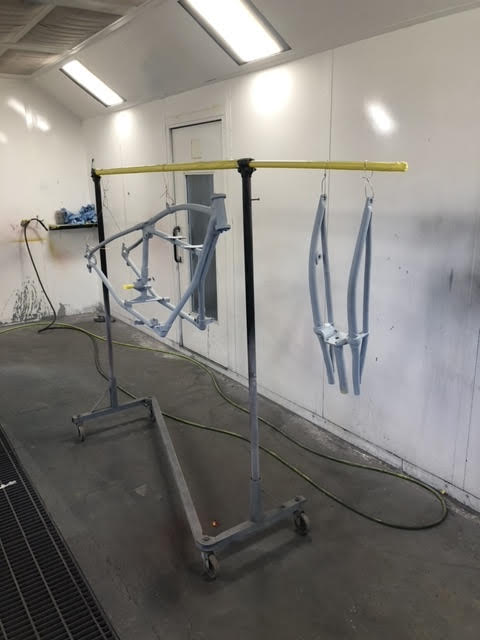
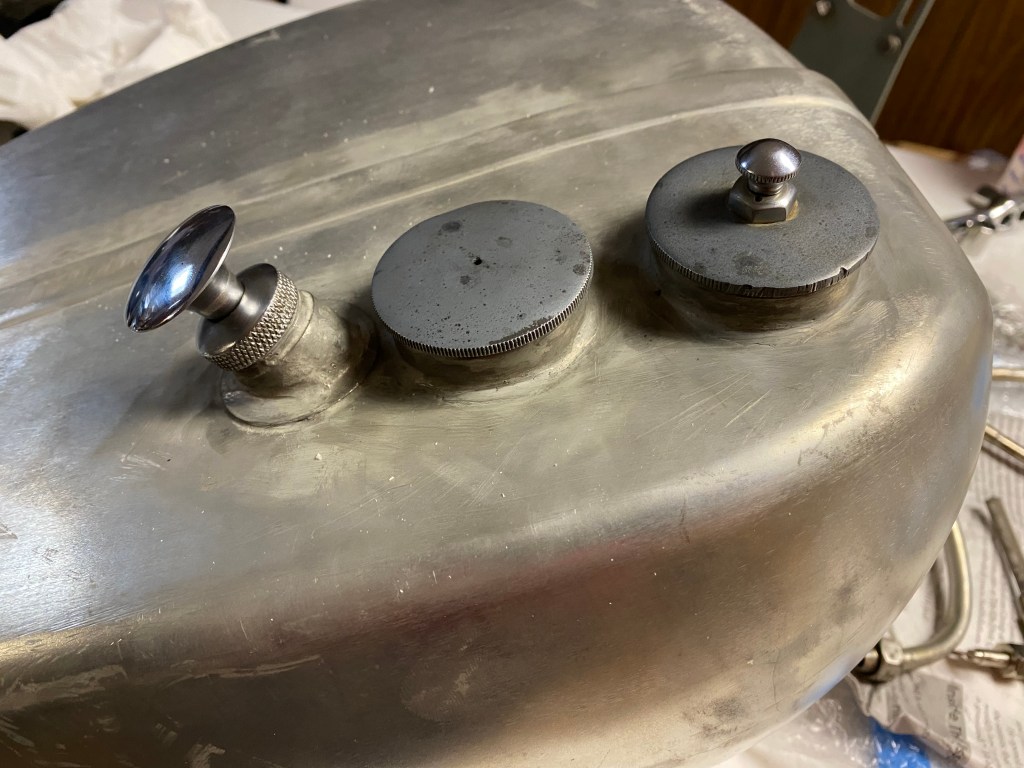
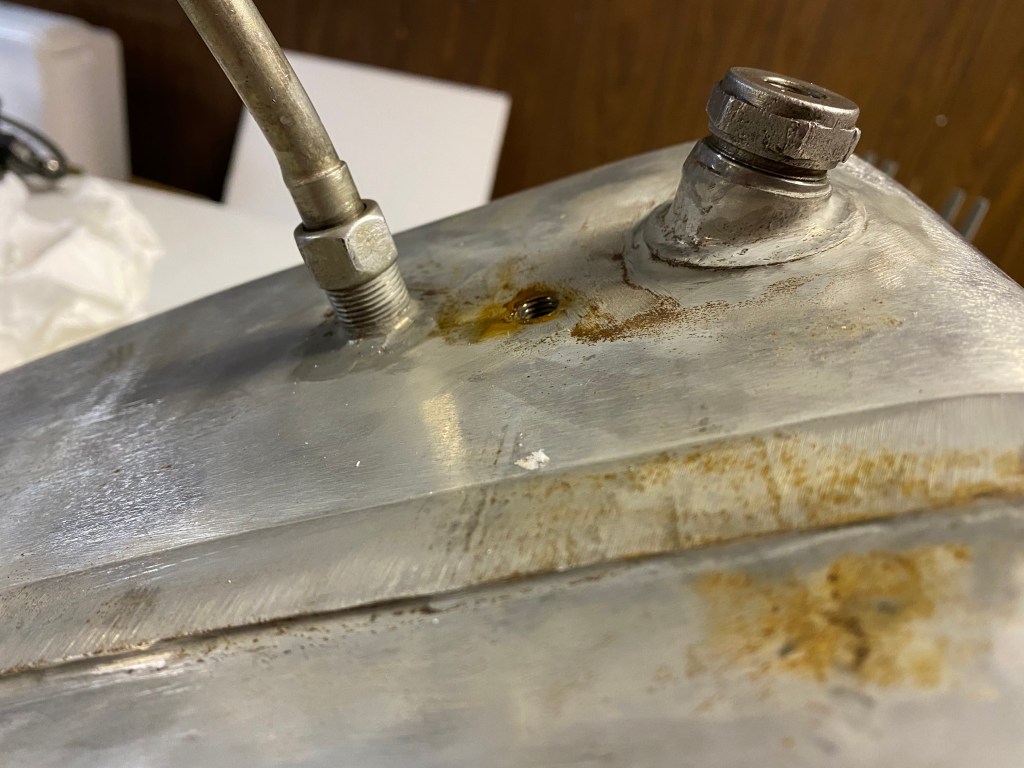
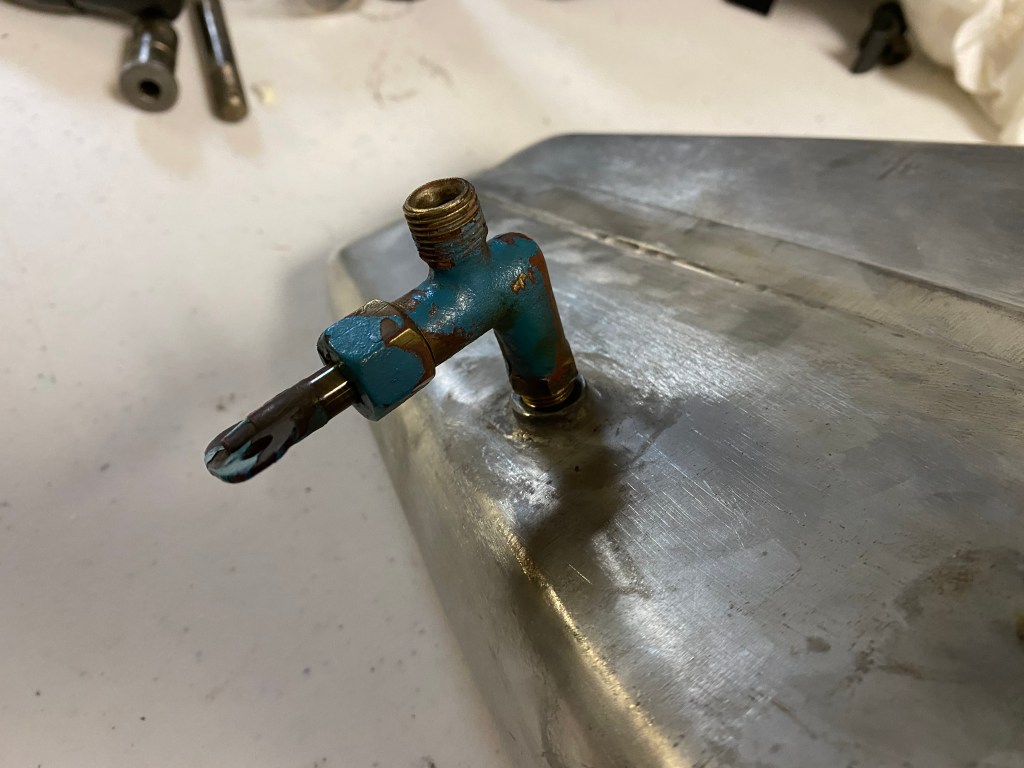
And here is where I forgot to document with pictures. Some of the things that were completed during this time. Front break control, Horn and horn button wiring, Headlight and wiring harness, exhaust header pipes and muffler, rear light and plate holder, throttle and spark advance controls, oil lines and gas line. I am sure I am missing a few things. Here is the only picture I can find of this time. You can see the horn button wire coming out of the handlebars. Threading that through was not and easy task. Also getting the oil handpump operating was also a bit tricky. Dug into the shop manual to get a really good idea of what is going on. Cut a new piece of leather for the cup seal and now it works great. Having an operating hand pump makes filling the crank case soooo much easier. A full stroke of the pump puts allot of oil in the case. Very easy to overfill if not careful.

Tank and fenders

Next was to get the fenders and tank back on. This was the first look at all the colors together. Just a few more steps to get it running and riding. Had a little help from my daughter. This bike has been in the family for close to 60 years and it is not going anywhere. It will be hers one day. Hope she remembers helping with it like I remember helping my Dad and grandfather.

Lots of little tasks

One thing I did not think of was having to run a die down all of the threads after plating. That little extra thickness made most of the threads a bit tighter than I liked. It was slow going bit once done things were threading back together much nicer. Here are a few pics of me chasing the threads on the break rods and the seat yoke. On the bike they went when done. Finished off with the chain and kick starter. Almost time for the tank and fenders! Have I mentioned how nice all the nickel plating looks? 🙂

Start of the final assembly.

It has been a long time getting to this point. All the work to get everything cleaned up, plated, painted, refreshed is coming together. This will be the first time the motor and frame have been back together sense they were taken apart almost 5 years ago. Started by getting the bike up on a stand and rear wheel. Made sure to protect that nice new paint

It was no not the easiest thing getting the motor back in wit the stand I had. With a little work it was in bolted in place. The nickel plating looks so nice next to the green.

Then the front fork to complete the rolling chassis.

Starting to look like a motorcycle again.

Auto-lite Genny Refresh

I originally thought I would find a generator specialist to do the restore on the generator. It sat on the bench for month until one day I just looked at it and though “how hard can it be?” The answer was a bit harder that I thought but it was doable with common hand tools and a little mechanical aptitude. Some of the old cloth covered wire had to be replaced as it was just crumbling to dust. Stripped off the blue paint. Cleaned it all up. Painted it back to its original Black while leaving the nickel plated parts alone. Adjusted the brushes and it generates a charge during a bench test! My plan was not to use it anyway so that was just a bonus. I don’t think I will be doing really long rides with the bike so I will just use the battery to power the lights and recharge it from the wall after my trips. I want to save every last little but of power from the motor to forward motion and not spinning a generator anyway. Here are a few picture of the before, after and some of the internals. I am very happy with how it came out.

Finishing up the paint

When Chad sent me these paint in progress pics I was blown away. It has to be soooooooo satisfying when pulling the tape and revealing the striping.

The tank came out amazing but the fenders were just as good.

I have been working on the scout off and on for the past 5 or so years. When the paint when on was one of the most exciting stages of the restoration. It really made me feel like we were closing in on completion. Though anyone who has ever done a project like this knows that there was still quite allot to still be done to get it all back together and buttoned up.

Body-work prep

Bodywork and paint were done by Chad Longo in Vernon CT. Here the prep starts.

Lots of parts with a fresh coat of primer.

The color choice was tough. I knew the bike was red when it was manufactured but I did not want just another red 101. I had seen pictures of a group of 101 owners at George Yarocki’s and very single one was red. So I looked at all of the available color options that Indian had available in 1931 and Green jumped out at me. I also saw that a cream tank was available with that color so I had Chad do some spray outs. Next post will show the process of spraying out the colors.

Reproduction gas tank.

I decided that I was not happy with the tank the way the it was. It really needs to be full taken apart straightened out, re-tinned and soldered back together. This was not a project I wanted to take on right now so I ordered a tank from a source the 101 association found in India. The tank was very well made but the fittings all had a slight problem. None of the original caps and valves would thread into it. It seems that there is a difference in angles of the thread cutting tools that were used in India. So I decided to try an experiment. Walker Machine Shop sells the fittings for tank repair. These fittings work with all of the original parts so I contacted the manufacturer in India and worked out a deal where I would send the Walker made fittings to him and he would build a tank around them. It worked out great! I now have a tank that looks and functions like new and is completely compatible with the original Indian parts. The first few picture are of the first tank with the incomparable fitting with me holding the Walker fittings next to it. The last thee pictures are of the new tank (walker fittings) with my original 1931 parts screwed on. I couldn’t be more happy with the outcome!