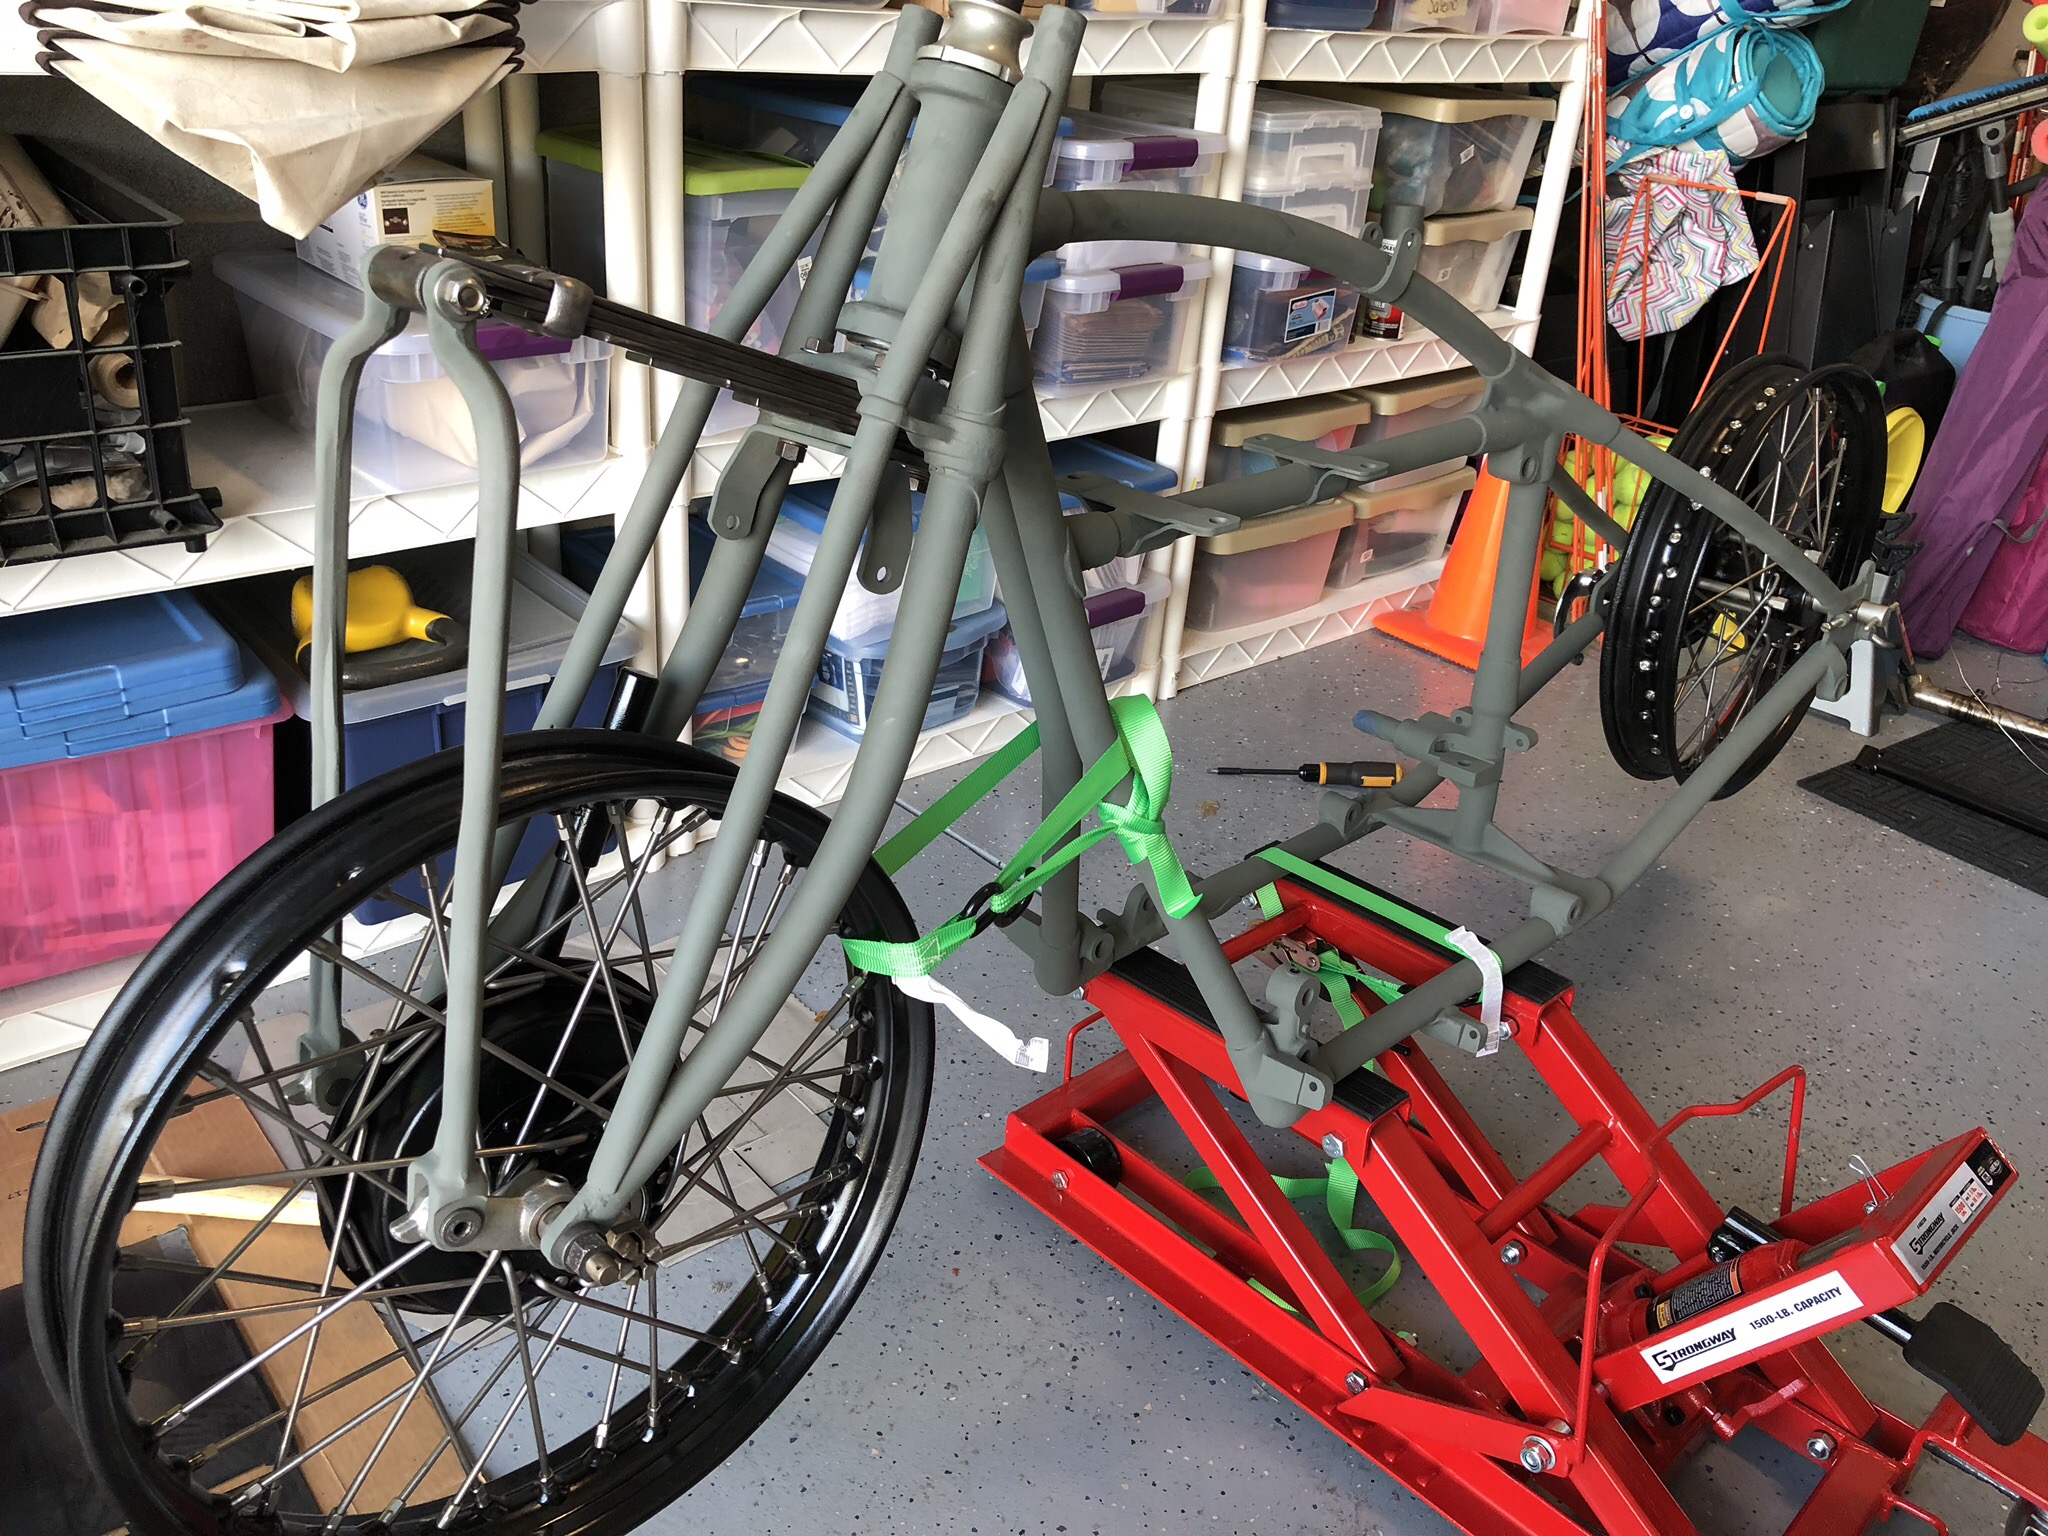
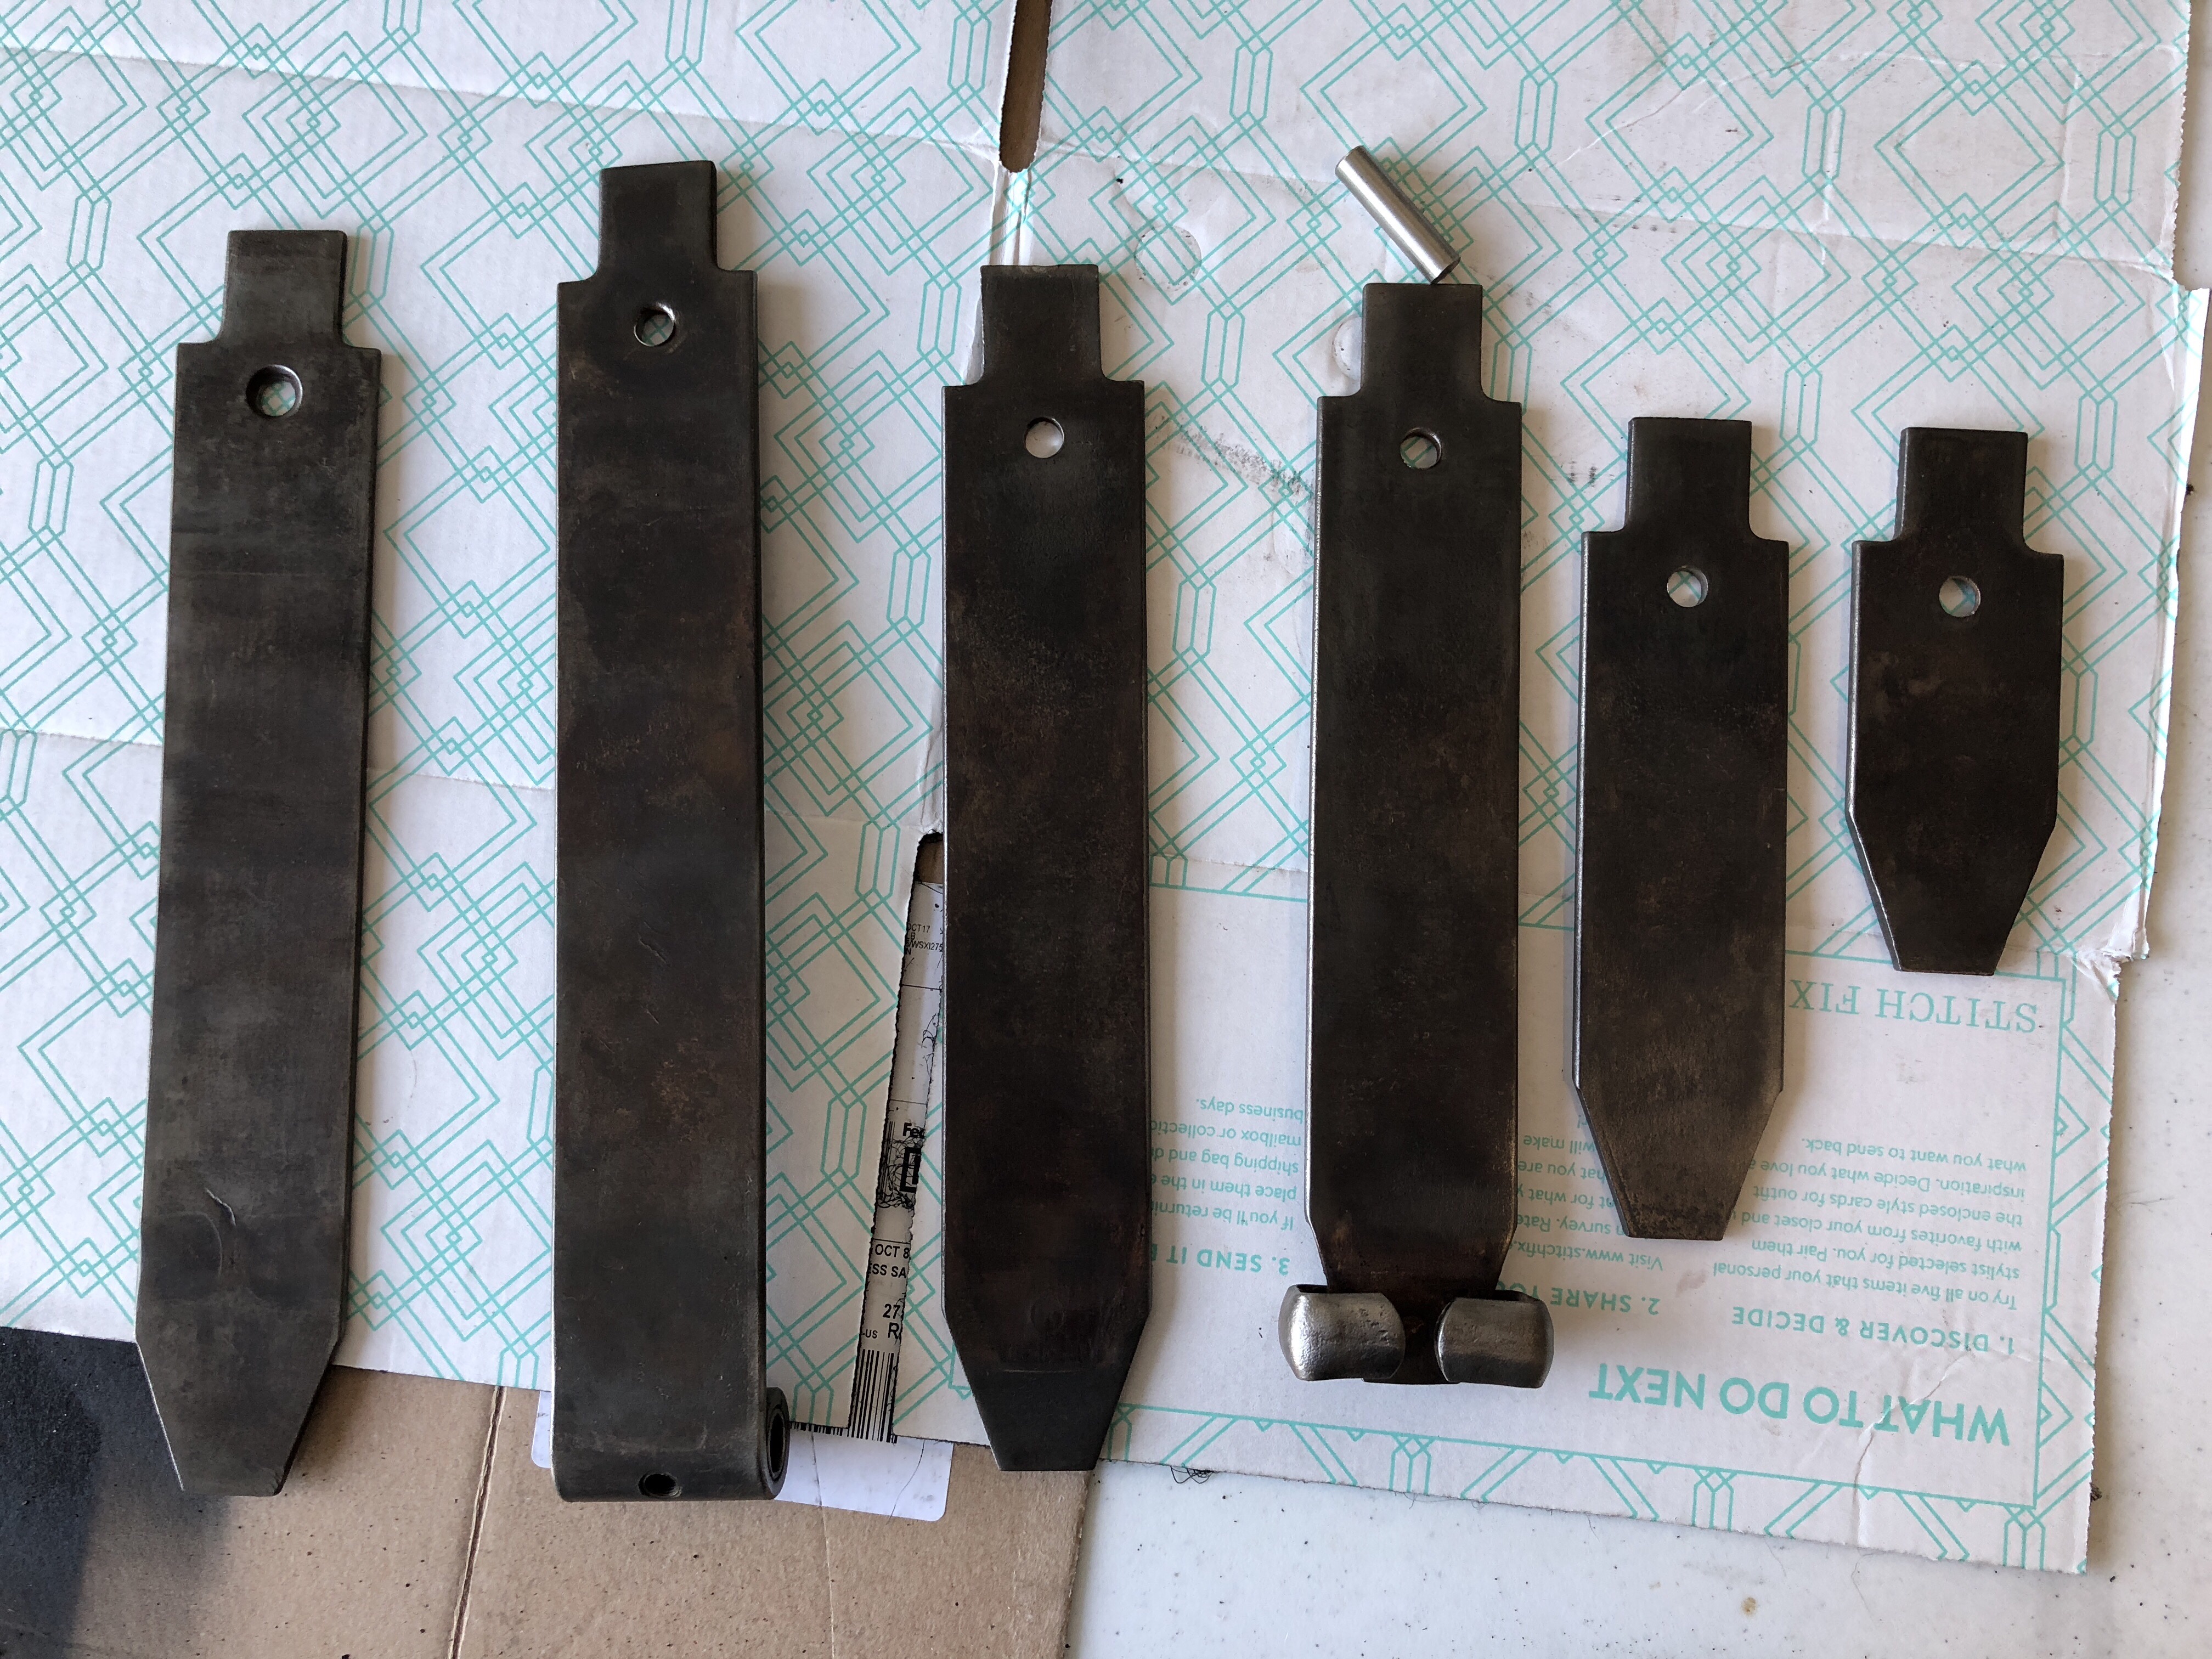
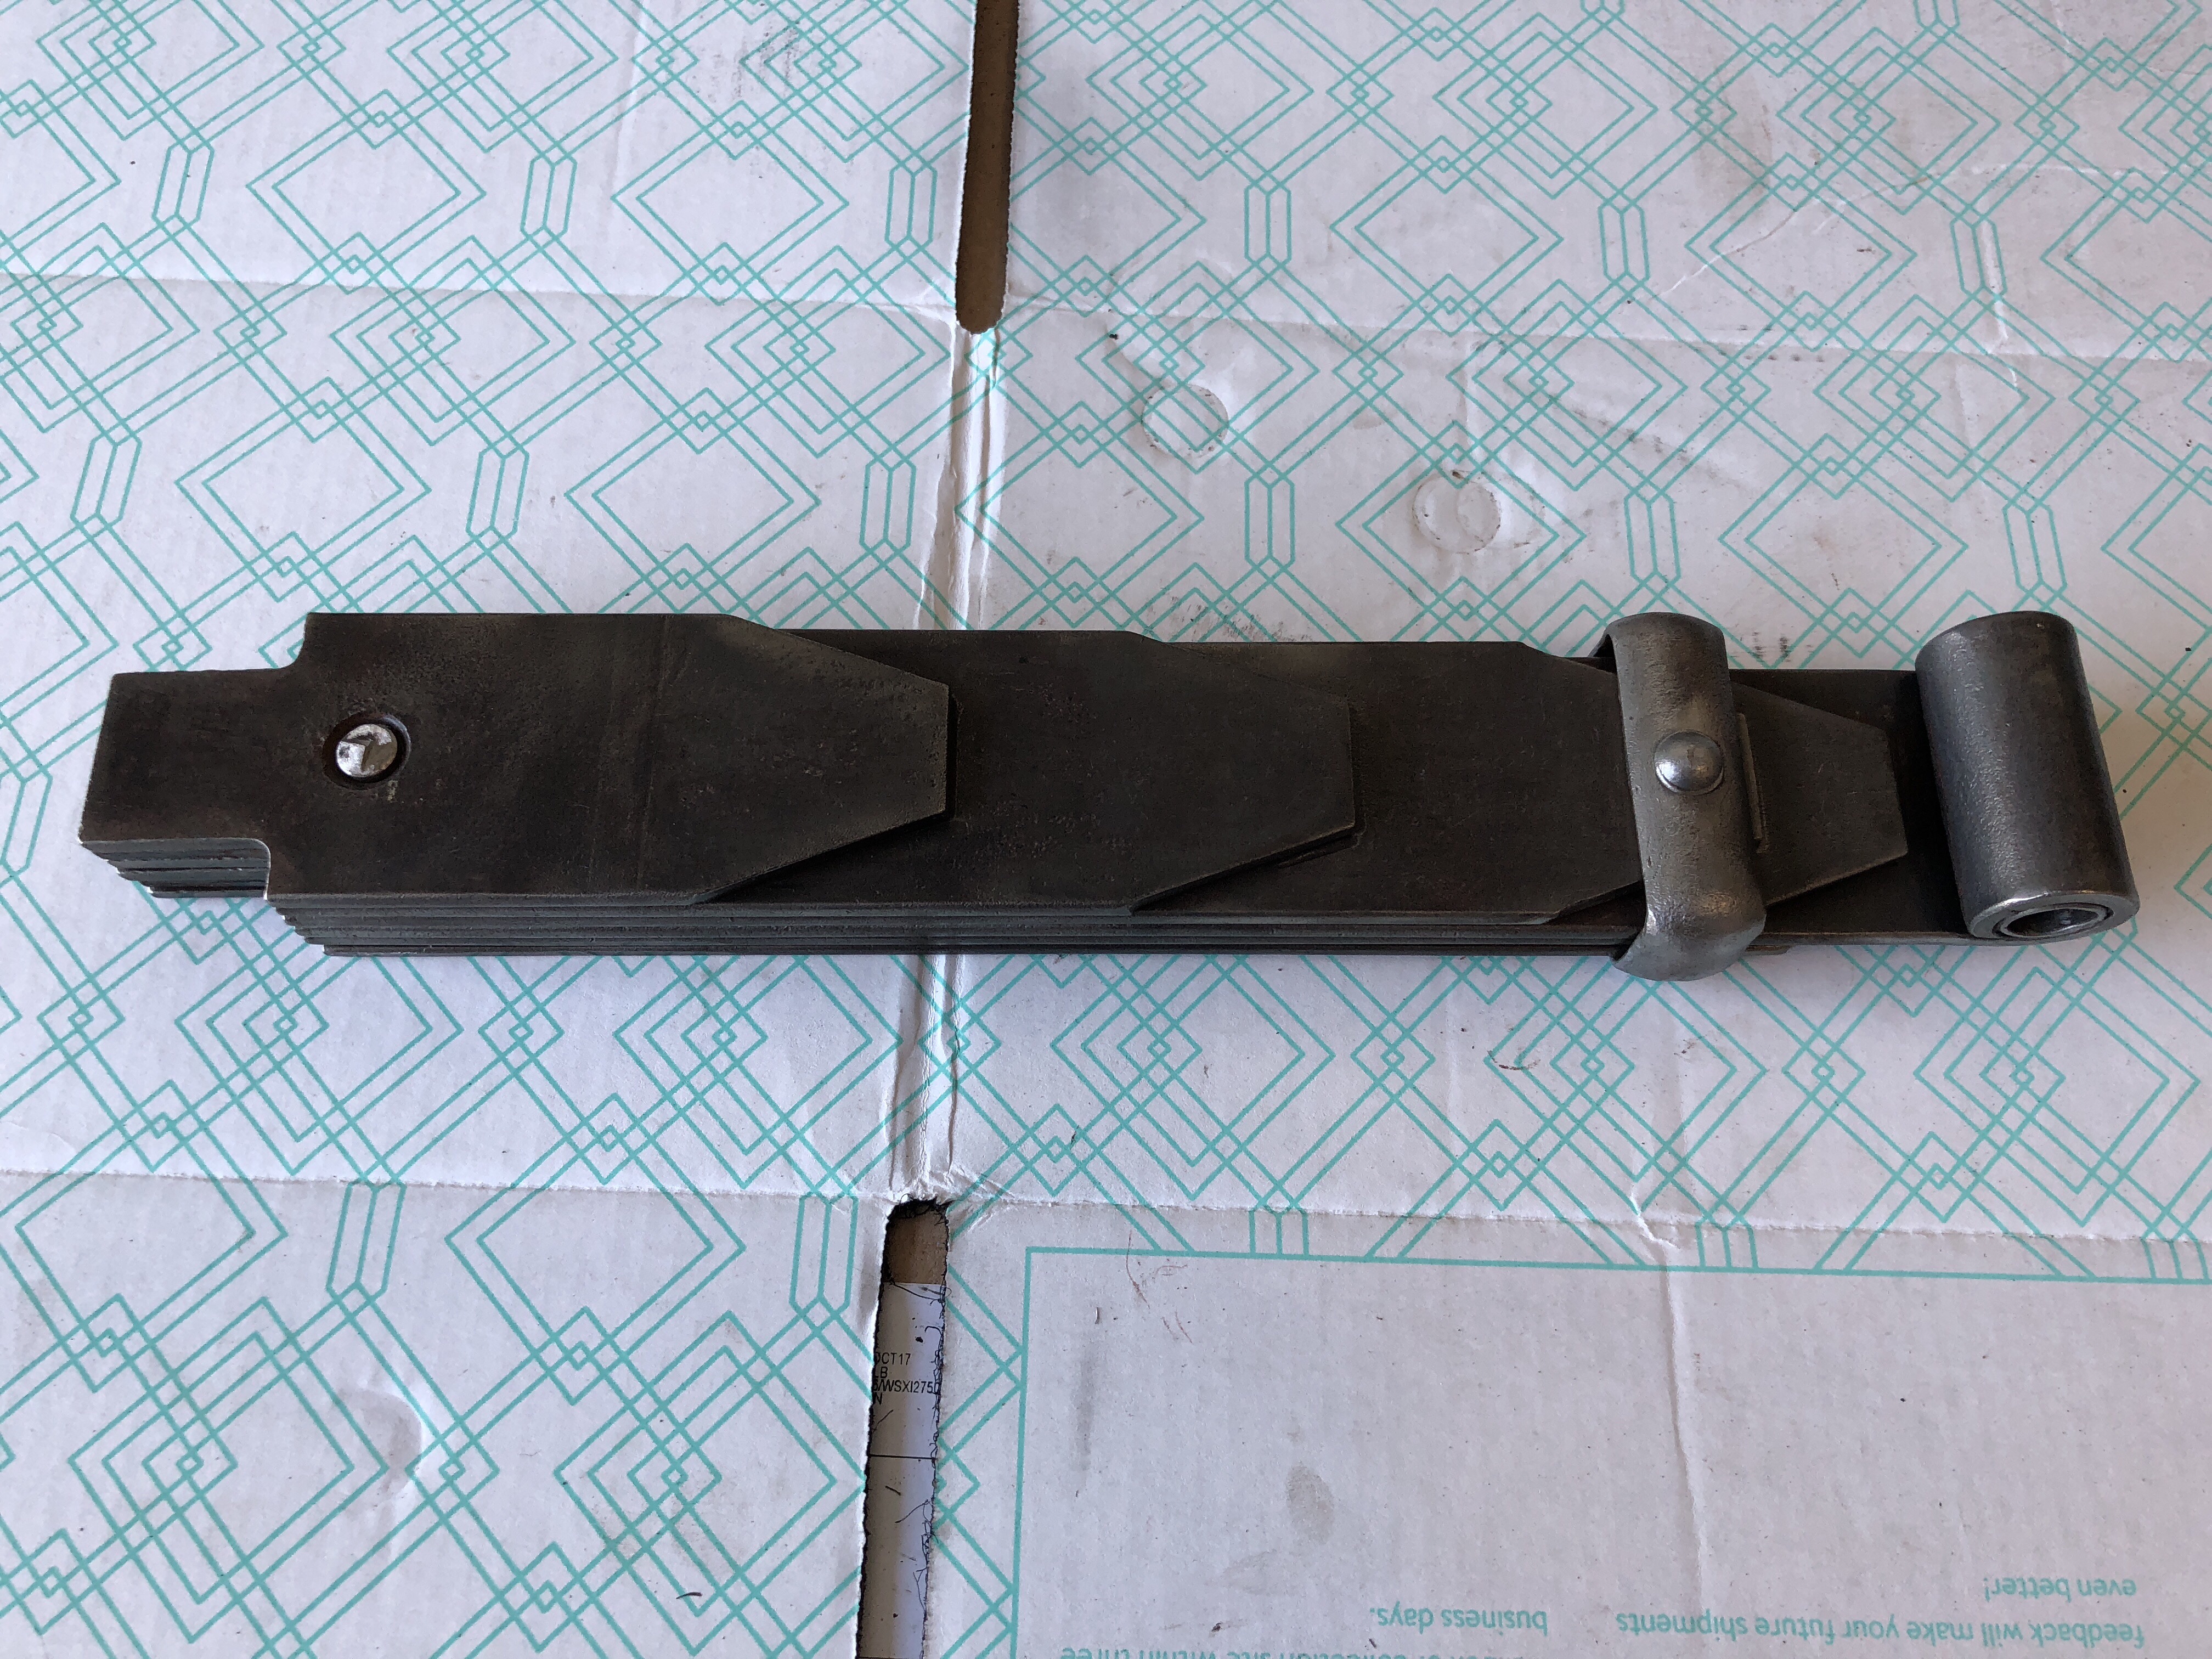
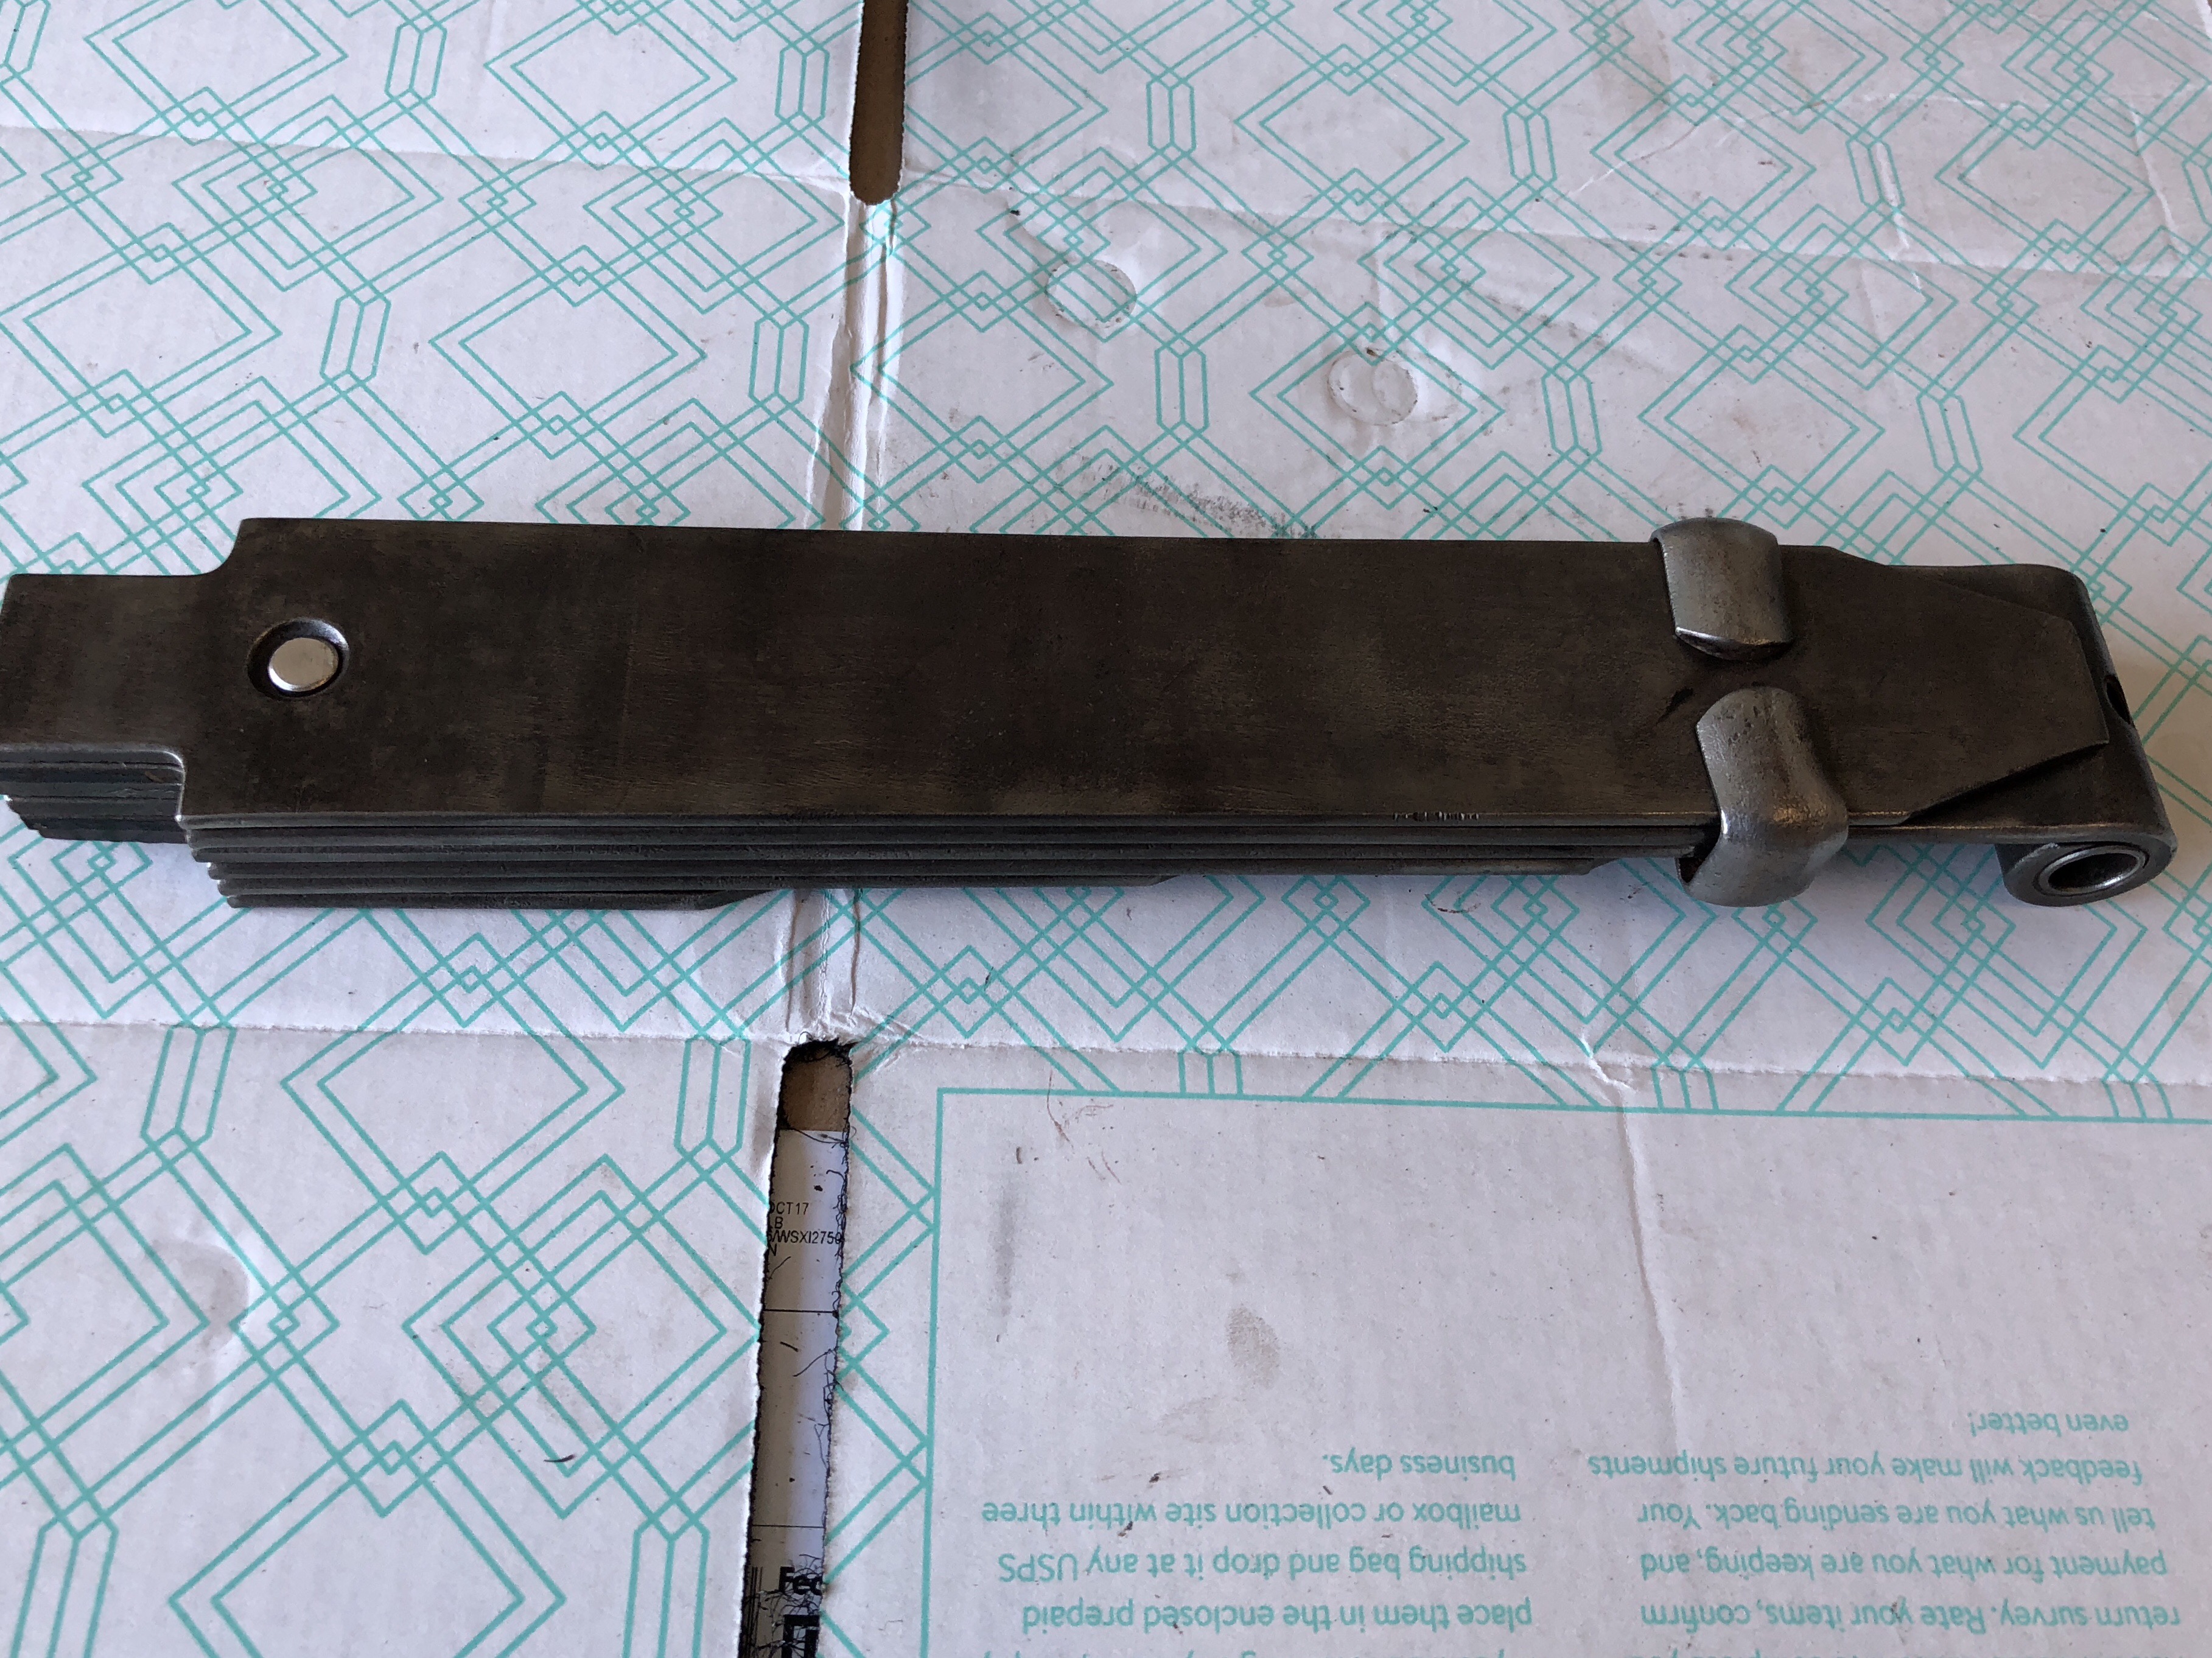
Rear fender straightened out. Everything lines up pretty good.


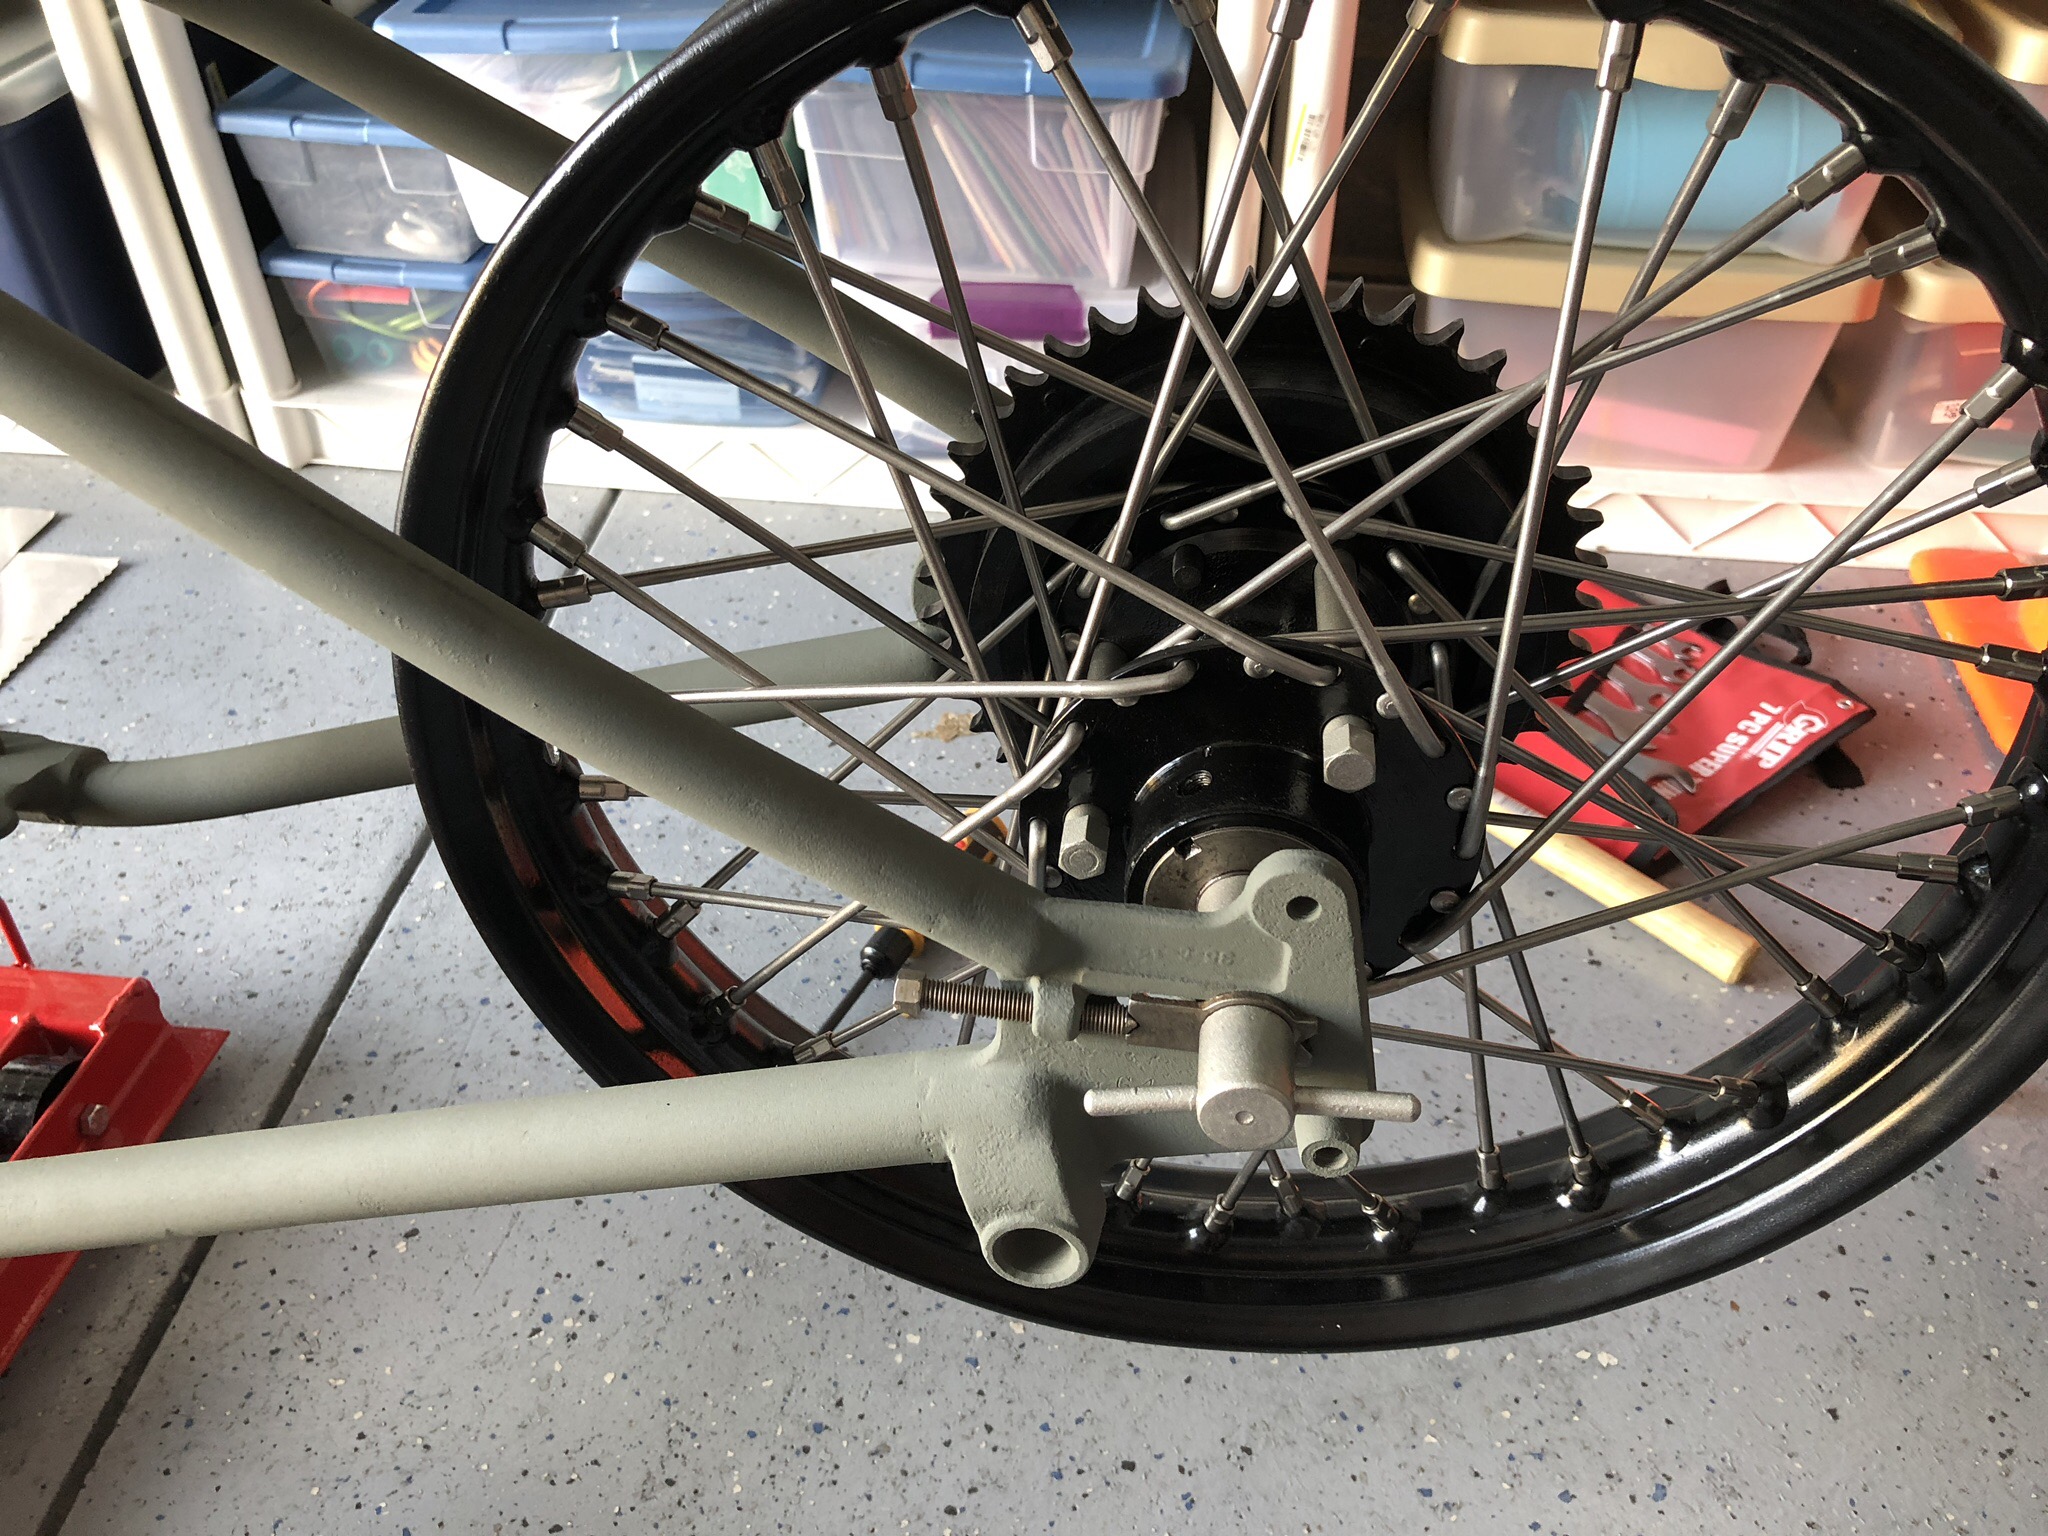
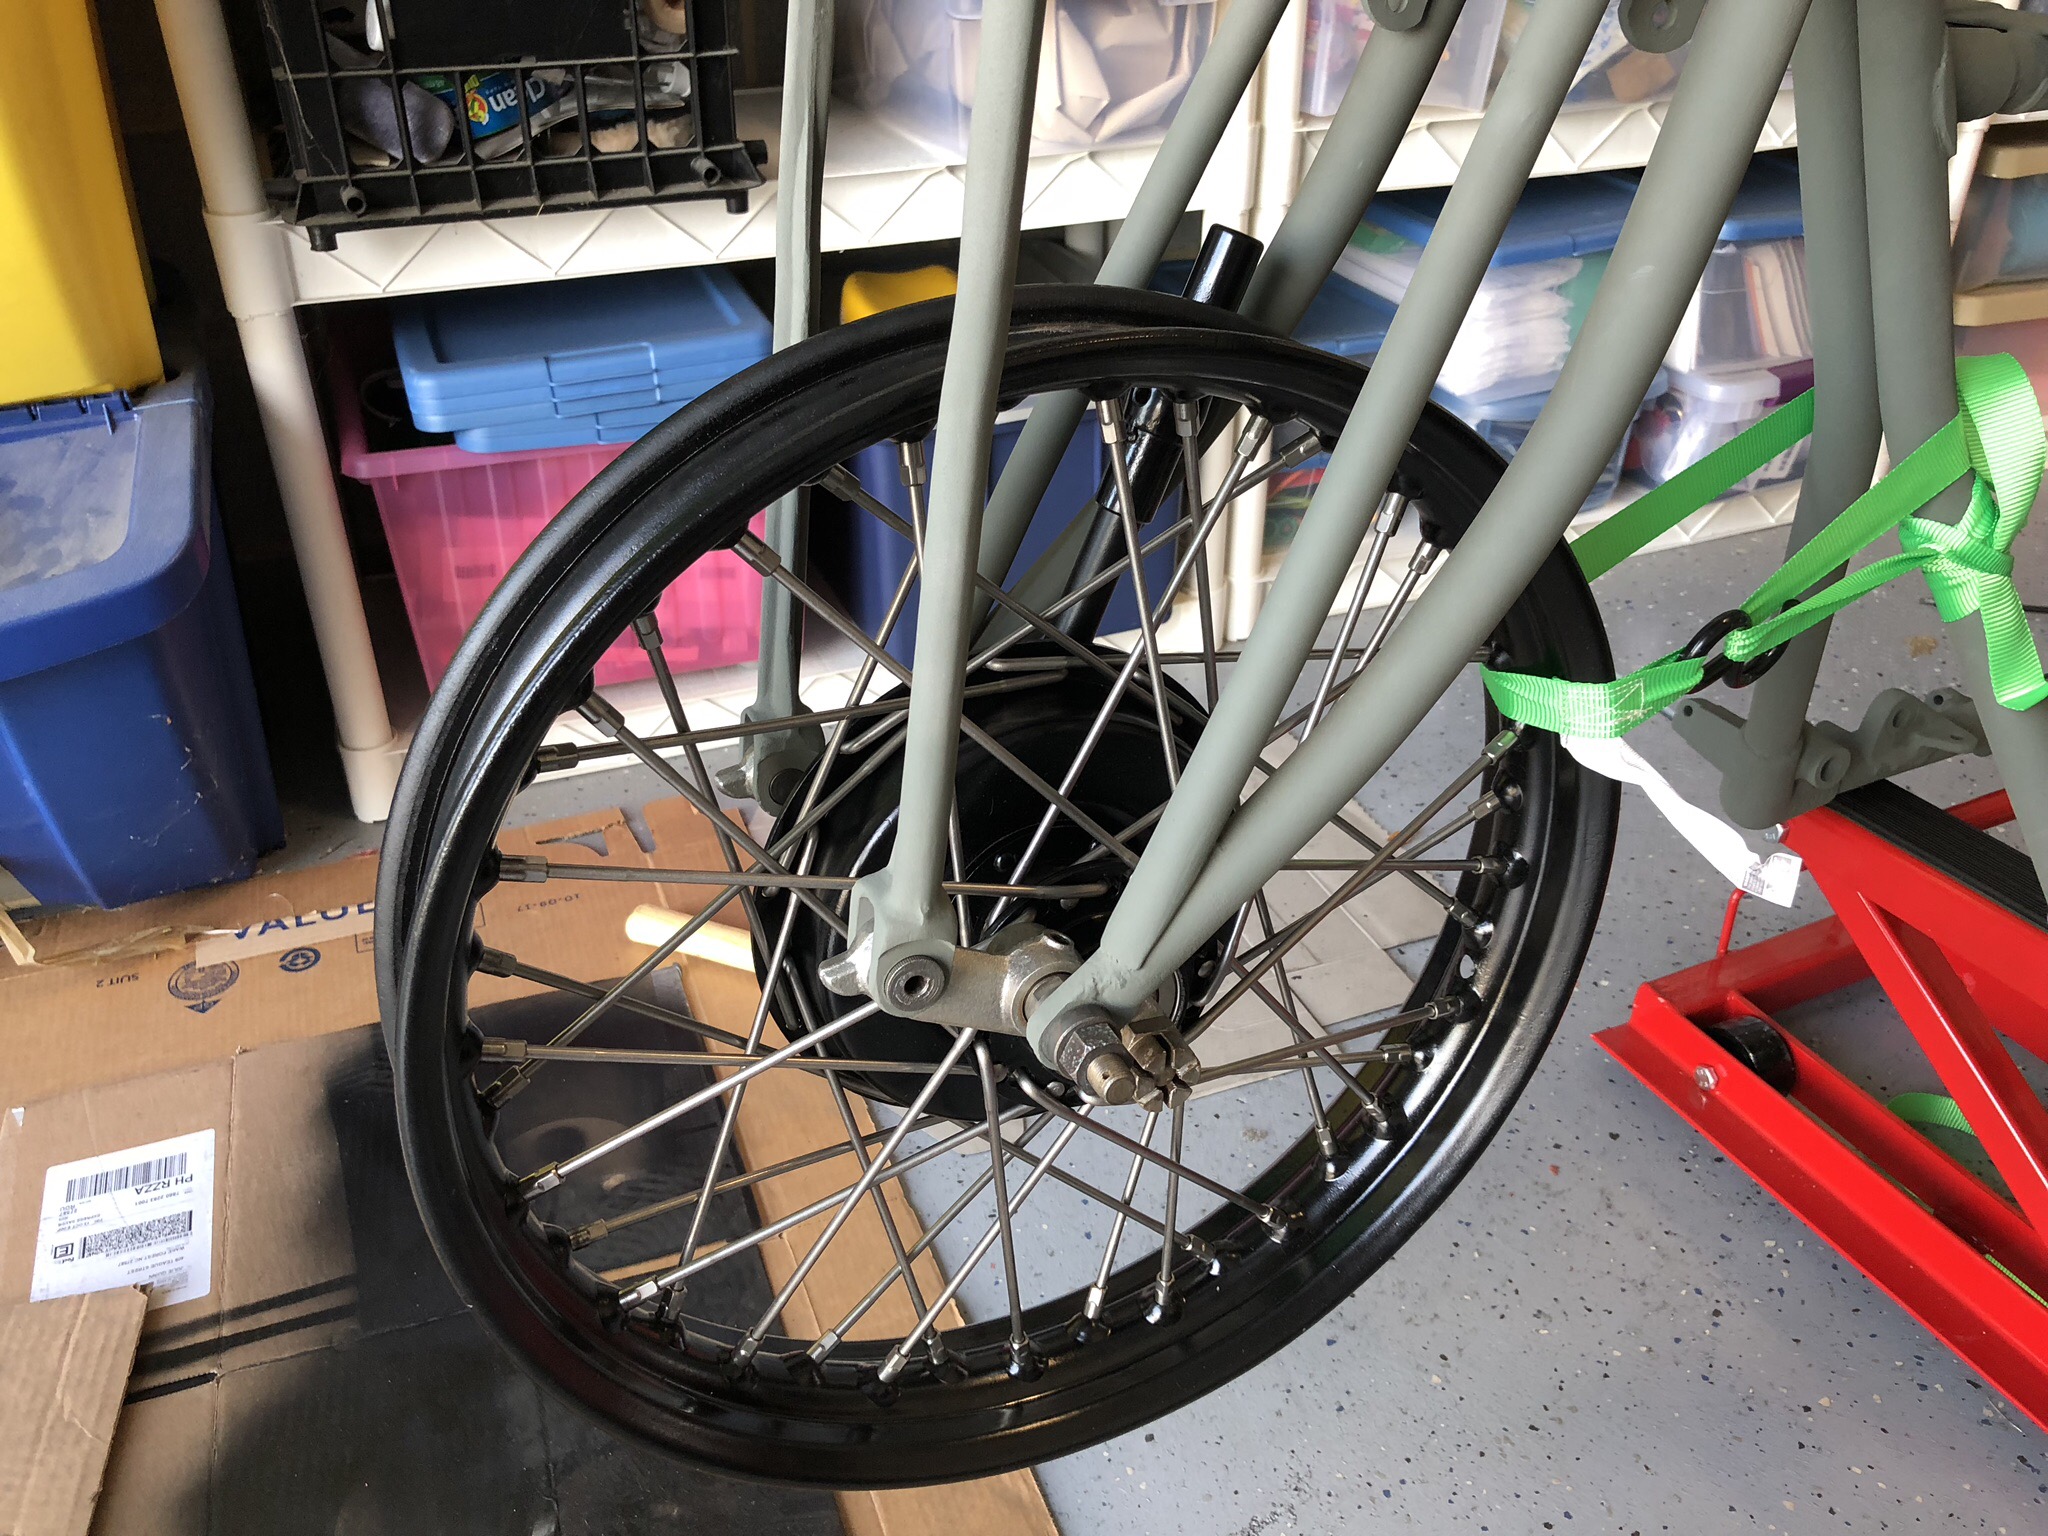
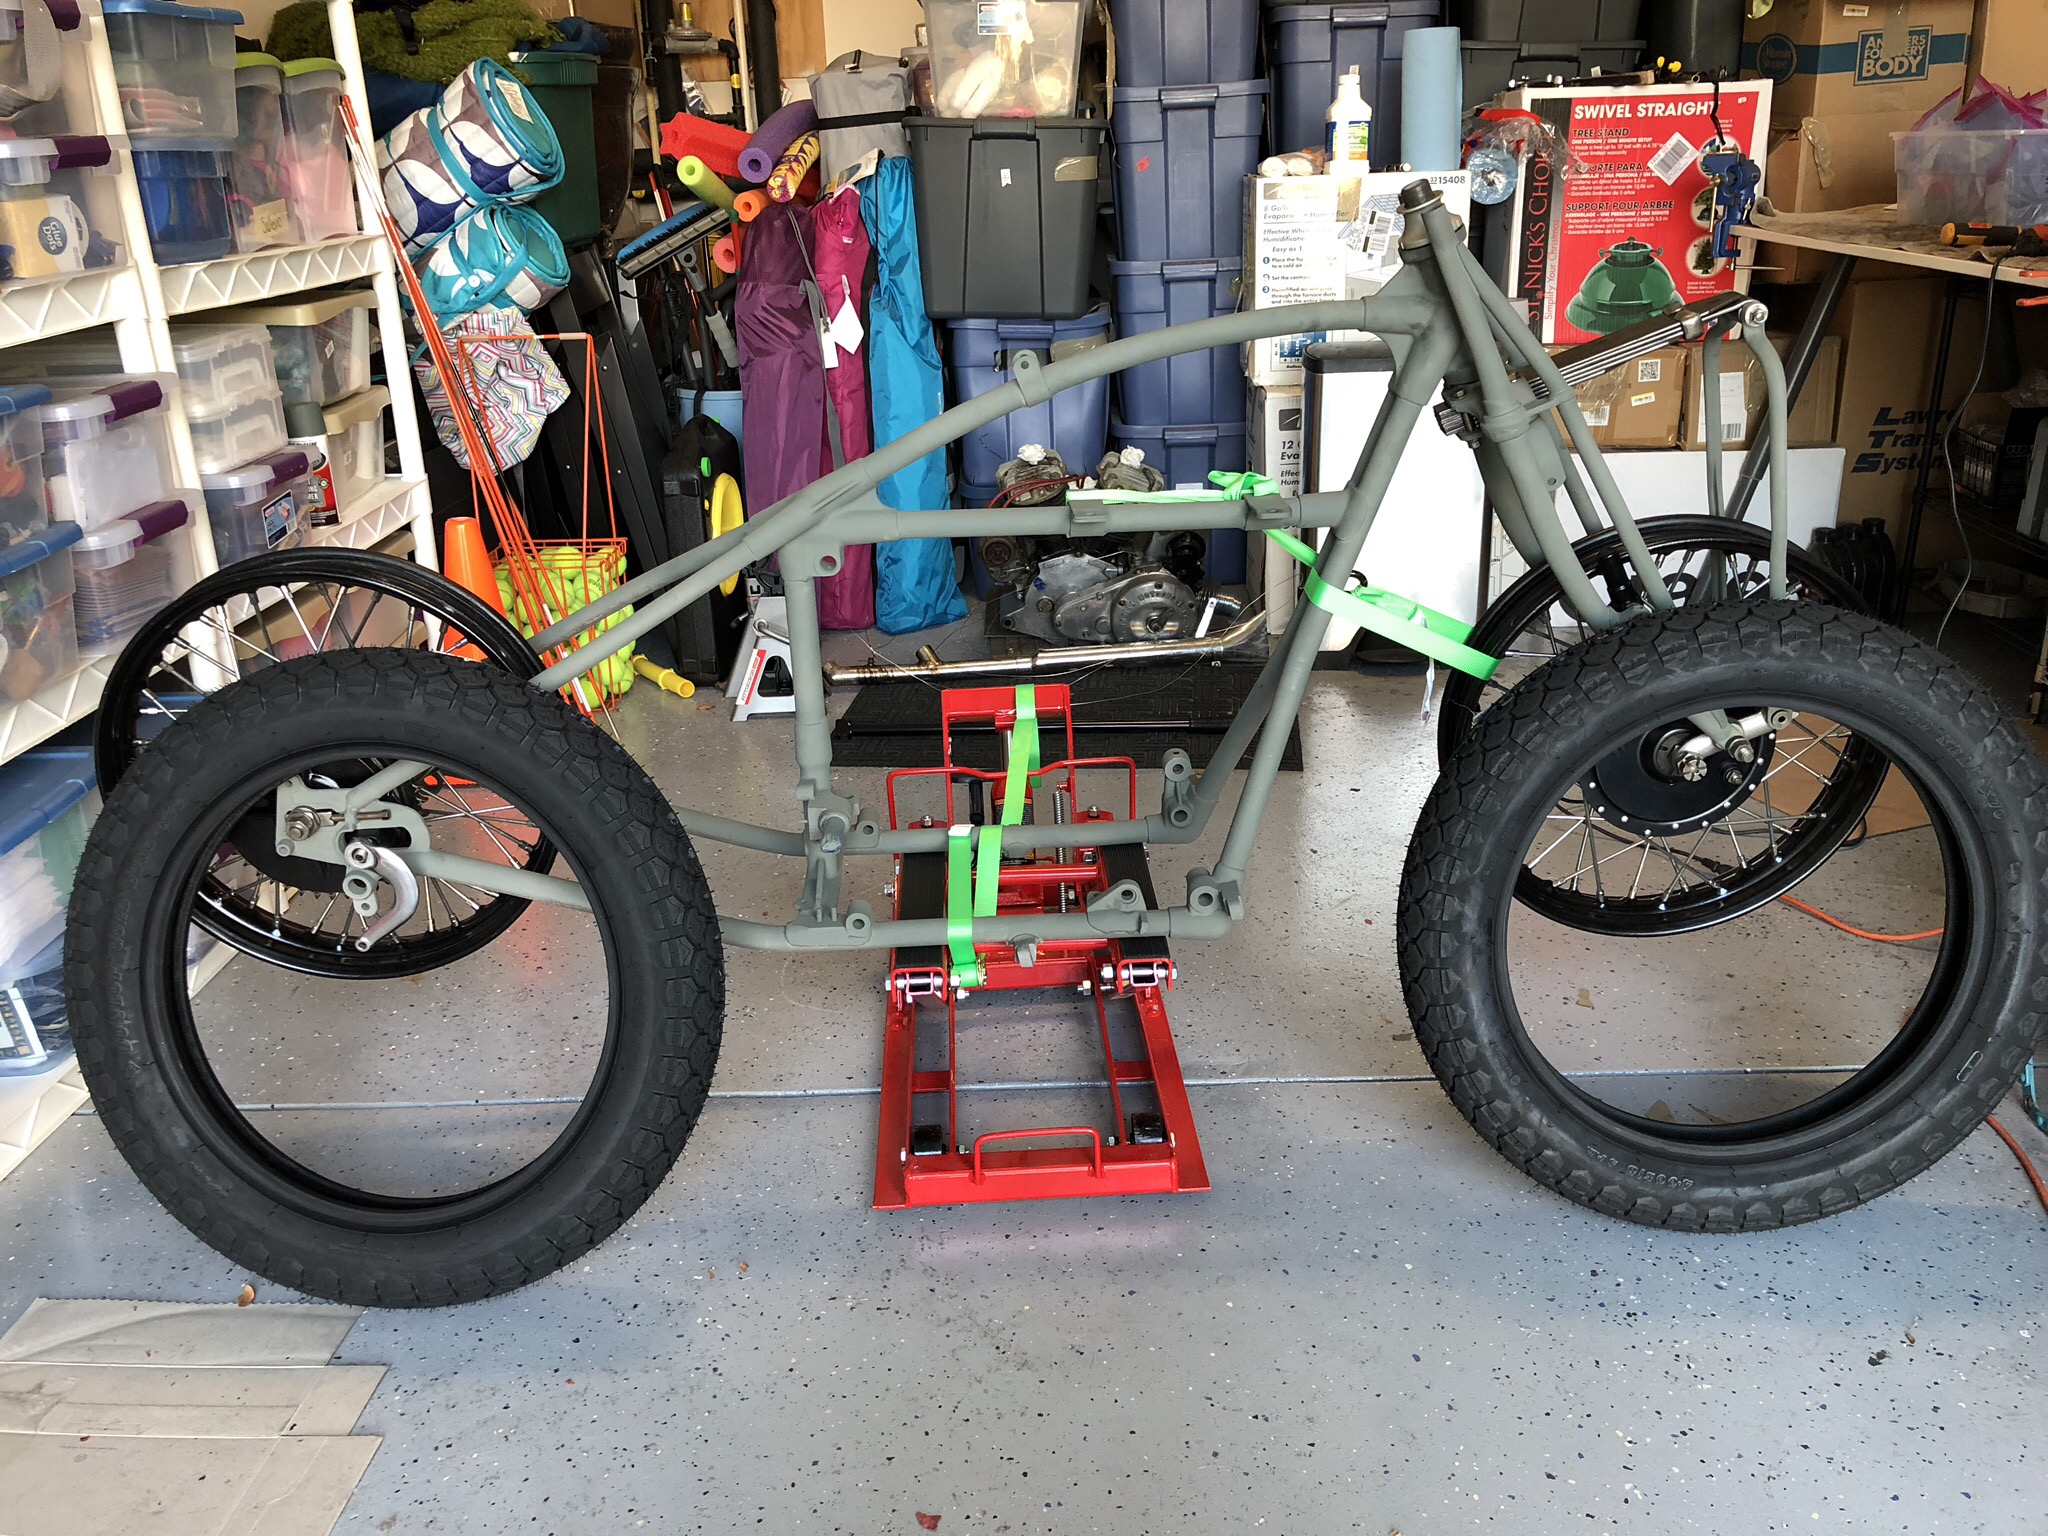
Front end alignment. Not perfect but pretty close.

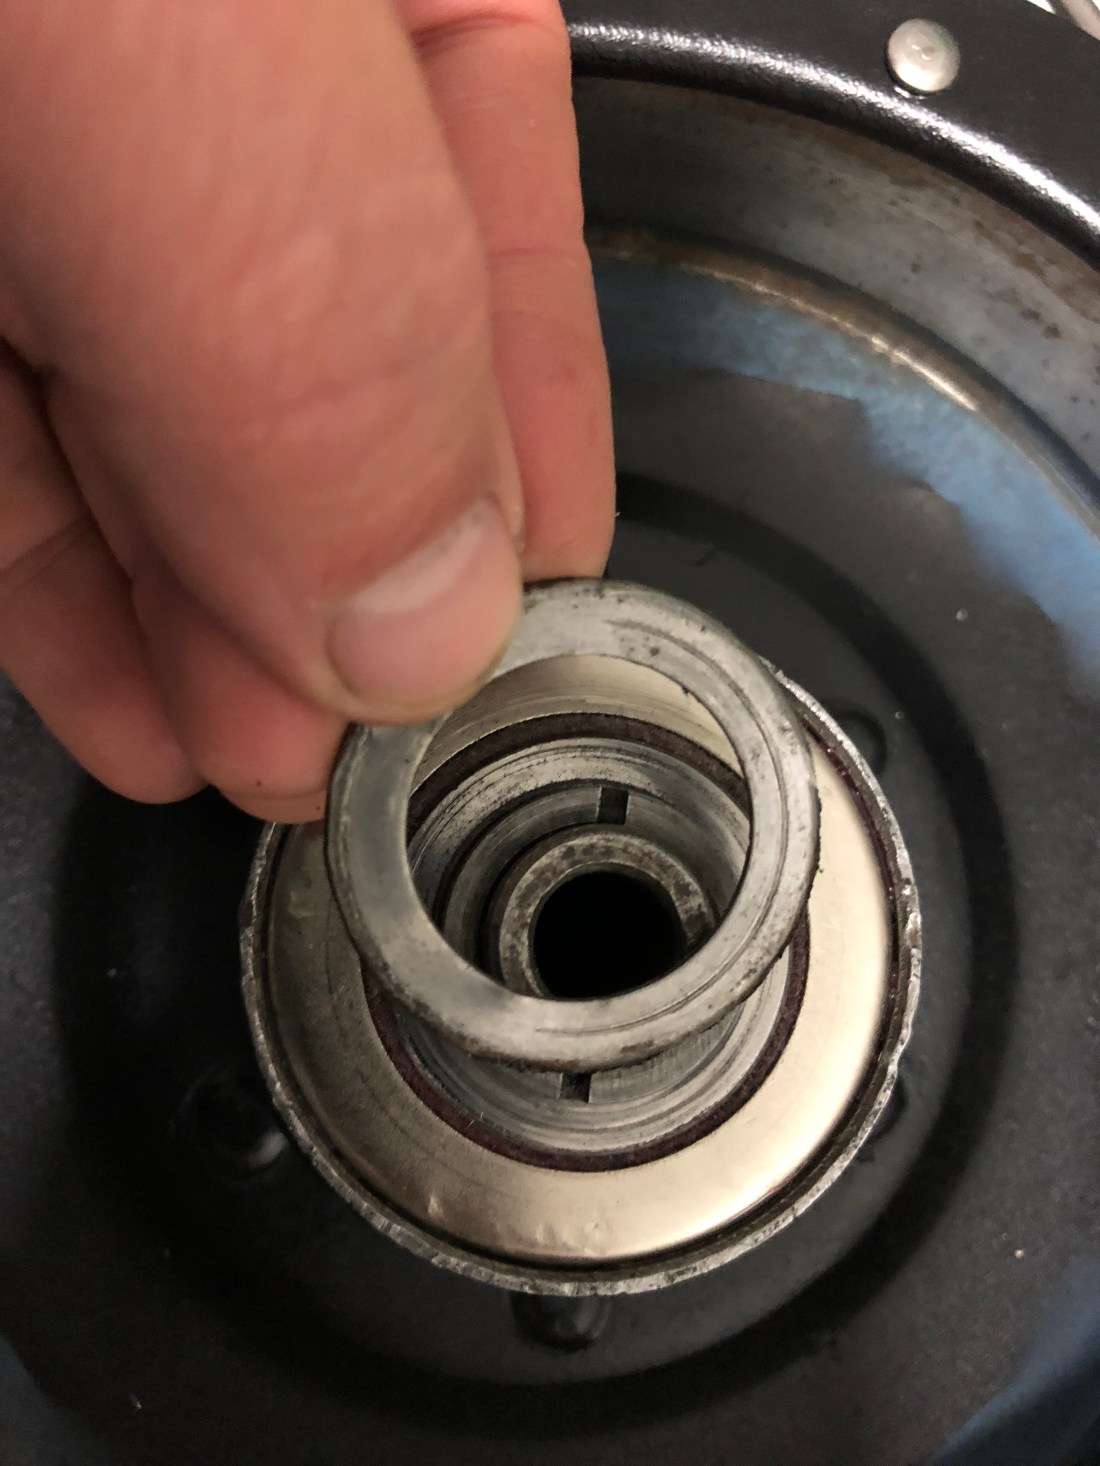
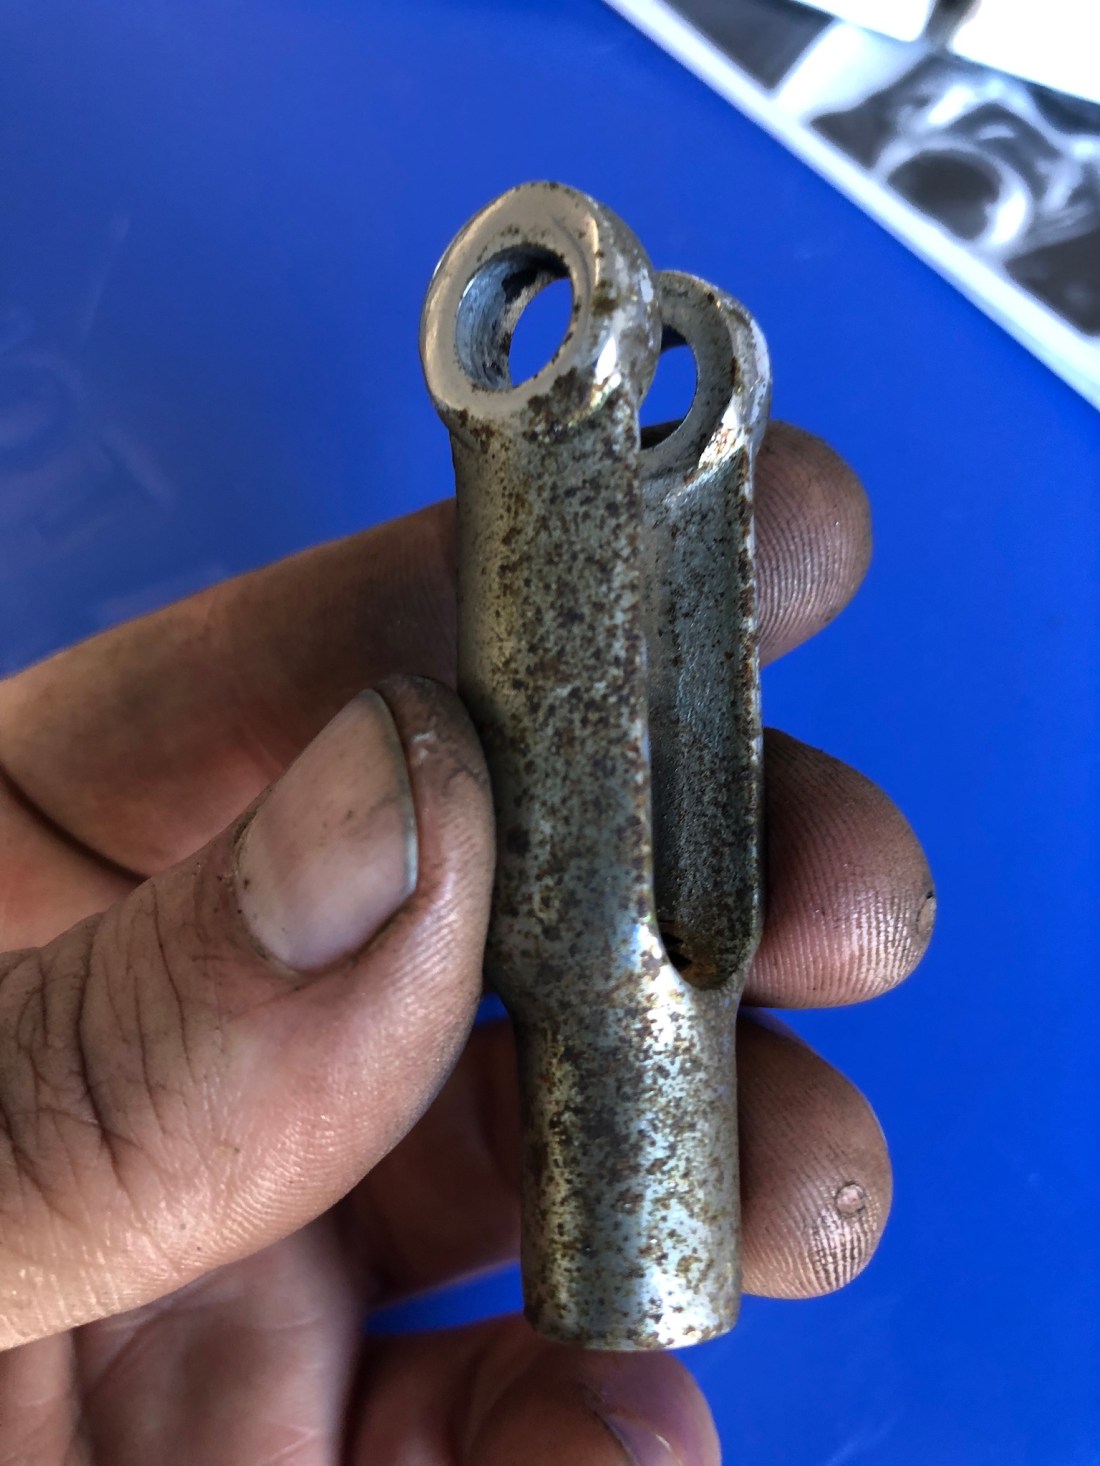
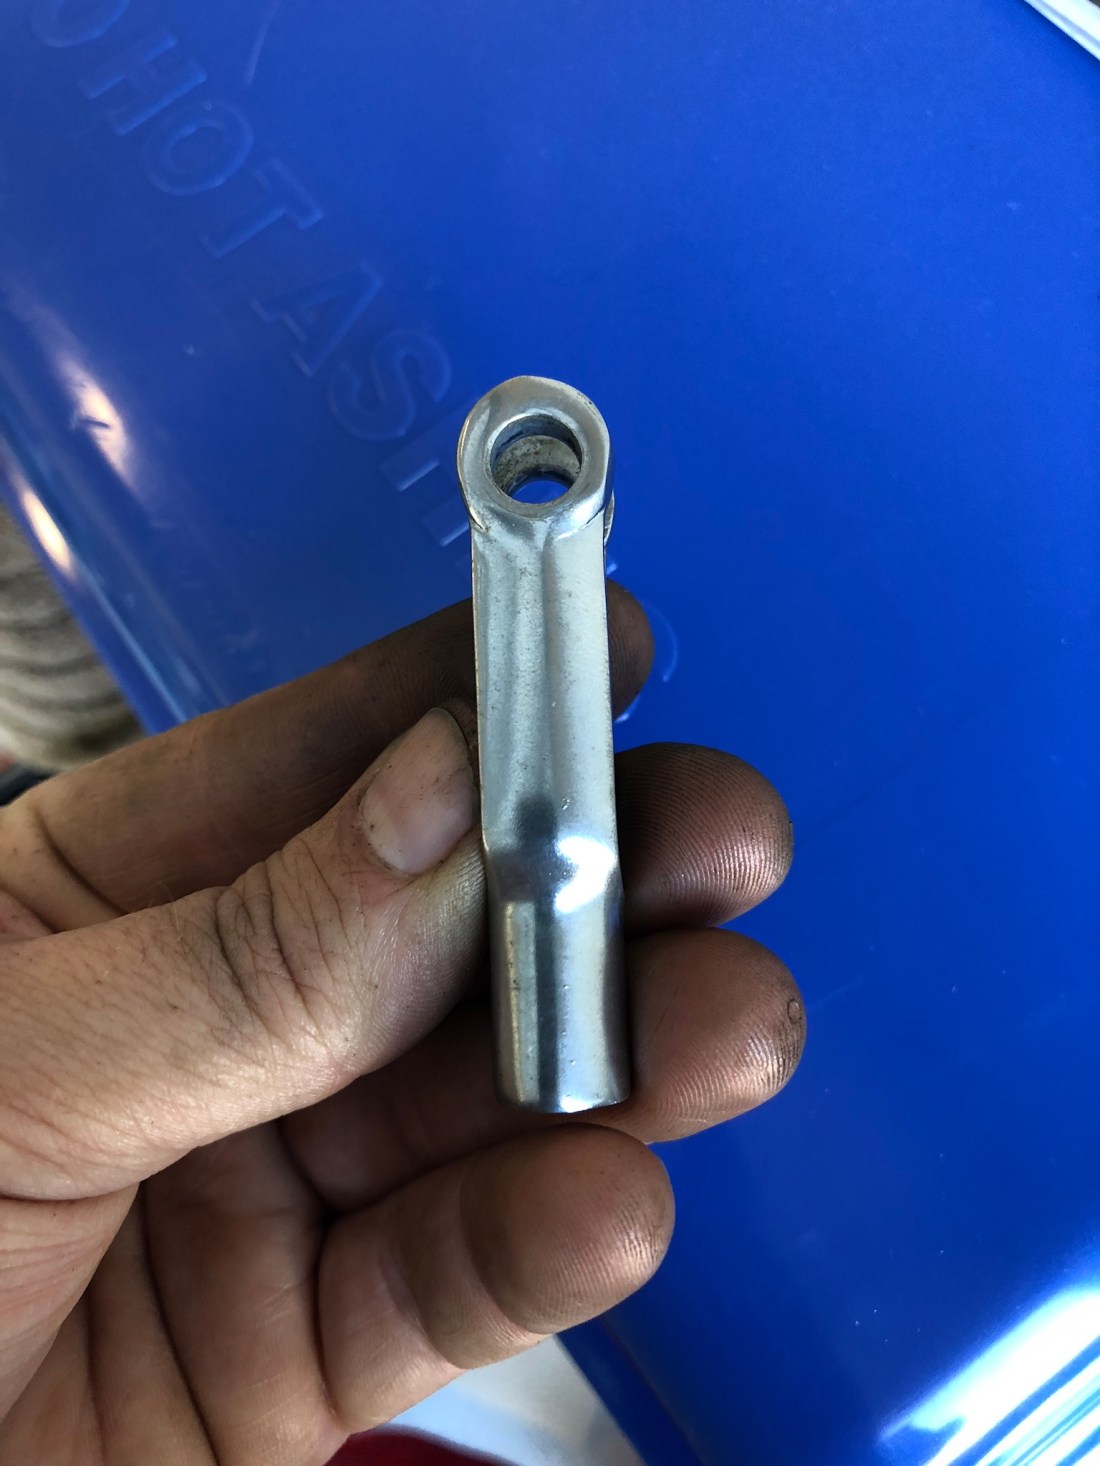
Spent a good amount of time today banging out dents and straightening the rear fender. I didn’t have to take any rivets out but I did hammer out the hinge pin to help make some bends. In the end I think I got everything pretty straight.